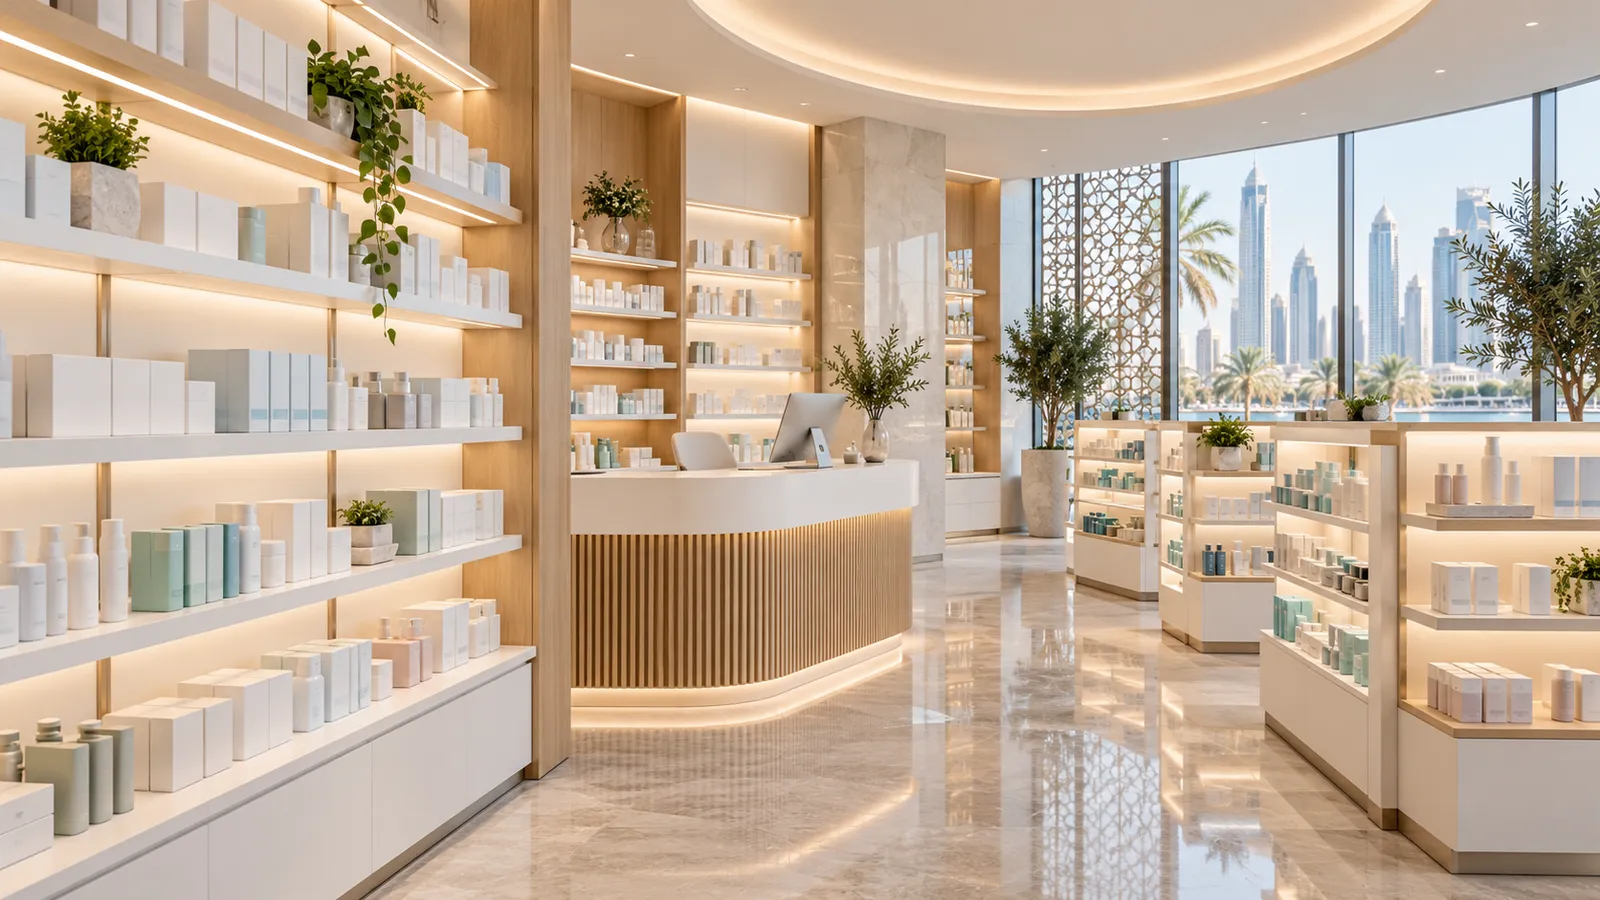
For pharmacy fit-outs, start with shielded shelf lighting where customers need to read and compare packages. Add a separate lighting layer for consultation and service areas, then use coves or joinery lines where they support the interior. Select the complete profile and mounting detail with actual packaging in place.
Compare the five details by package visibility, reflected glare, shelf flexibility, separate control and maintenance access. The order below is an editorial starting sequence for reviewing a pharmacy layout. Choose according to the shelving, product range and tasks in each area.
Compare five lighting details
| Detail | Best starting use | Main limitation to check |
|---|---|---|
| Shielded under-shelf profile | Direct illumination of the shelf below | Glare and shadows from the shelf edge |
| Recessed vertical side profile | Tall skincare and personal-care bays | Bright reflections on glossy packages |
| Concealed wall-bay backlight | Selected feature displays | Labels may still need front illumination |
| Consultation-area cove or joinery line | Background light around a service area | Does not establish task lighting on its own |
| Ceiling perimeter cove | Visual continuity around the shop | Limited contribution inside deep shelving |
1. Shielded under-shelf profiles
Place the light where the shelf lip conceals the emitting surface from normal customer views while allowing useful light onto the merchandise. Check the front and rear rows with actual stock, including the tallest package proposed for the bay.
An empty shelf can make a detail look successful before boxes create shadows. Review the layout after restocking and at different shelf positions. Detachable shelves also need a cable and connector arrangement that staff can manage without straining leads.
2. Recessed vertical side profiles
Vertical lines can serve tall bays where a continuous side detail fits the joinery. Recess the profile and examine the view from both ends of the aisle. Glossy cartons and bottles can reflect a bright line even when the light source is partly concealed.
Compare label readability across the bay rather than selecting a profile only for its appearance. The mounting position, diffuser and package surfaces need assessment together. A visible hotspot should be resolved in the detail before repeating it across the store.
3. Concealed wall-bay backlighting
Use backlighting for a selected feature panel or display background when that effect suits the merchandising plan. Check whether the light reaches the package faces. A bright background can create a visual feature while leaving small print difficult to read.
Keep access to the tape and separate supply equipment in the joinery drawing. Confirm the proposed panel material and the effect with a sample assembly; a rendering cannot establish the actual appearance or service access.
4. Consultation-area cove or joinery lines
Concealed linear light can provide background continuity around a consultation or service area. Evaluate it with the task lighting used for reading documents and handling products. Avoid placing a bright exposed line in the customer’s seated view.
Give staff a practical way to adjust the decorative layer independently where the design requires it. The pharmacy operator and lighting designer should agree the tasks and visual conditions that the complete lighting scheme must support.
5. Ceiling perimeter coves
A ceiling cove can connect the sales floor visually and illuminate the surrounding ceiling surface. Check the light from the entrance and along the aisles. Shelf interiors still require their own review.
A cove’s usefulness depends on its geometry and surrounding finishes. Test a representative section before standardizing the construction. Do not infer shelf illumination from the tape’s watts per meter or the apparent brightness of the ceiling.
Review packaging and maintenance before ordering
ERCO’s retail presentation guidance discusses uniform shelf illumination and vertical lighting as ways to make merchandise details visible. Applying those principles to pharmacy joinery requires a project-specific assessment; the five layouts above are editorial recommendations, not measured pharmacy results.
Review actual labels under the proposed combination of general and local lighting. Include glossy packaging and positions viewed by seated customers or staff. Agree the required color appearance, dimming scenes and acceptance method with the operator. No universal output or color-temperature value follows from this shortlist.
Prepare a repeatable purchase brief
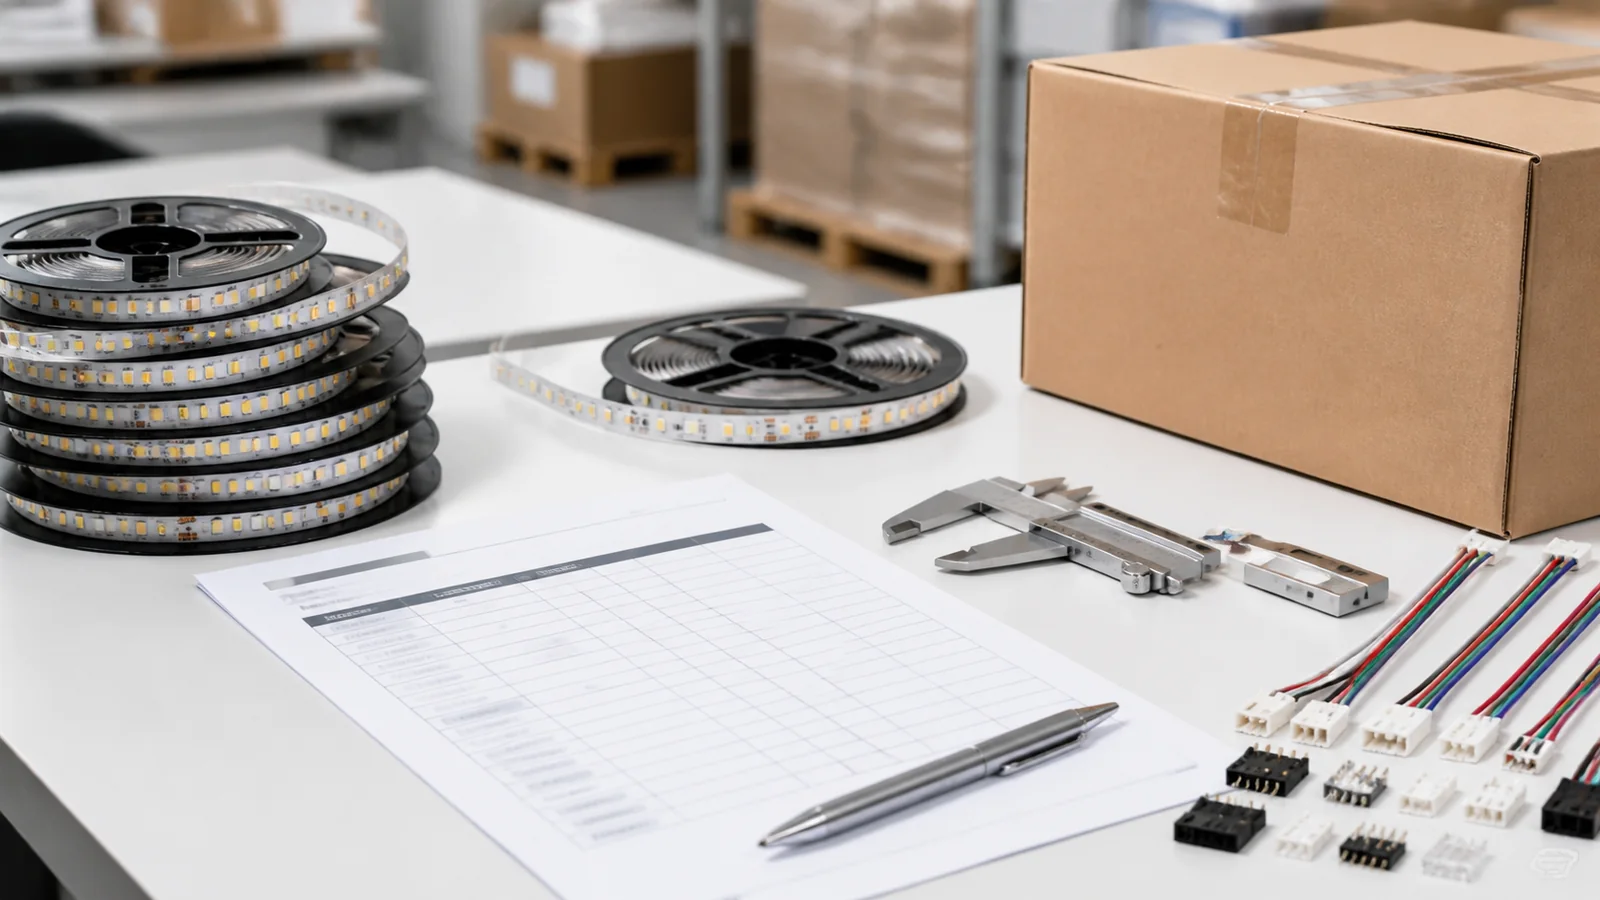
Record each bay type, profile, diffuser, tape model, connected length and separate supply location. Include cleaning access and how a failed section can be replaced. Keep the approved sample detail with the installation drawings so later purchases can be compared consistently.
Use the shelf-lighting selection guide for tape and profile considerations. LEDStripStar’s COB tape range is a candidate for sample evaluation within the selected detail. Send the bay drawings and operating requirements to establish the strip specification and quantity.
Catalog & Sourcing Note
This article is prepared from our current product catalog and B2B specification workflow. Electrical, waterproofing and installation requirements vary by model and market, so confirm the final specification and approved sample before ordering.
Discuss Your Specification