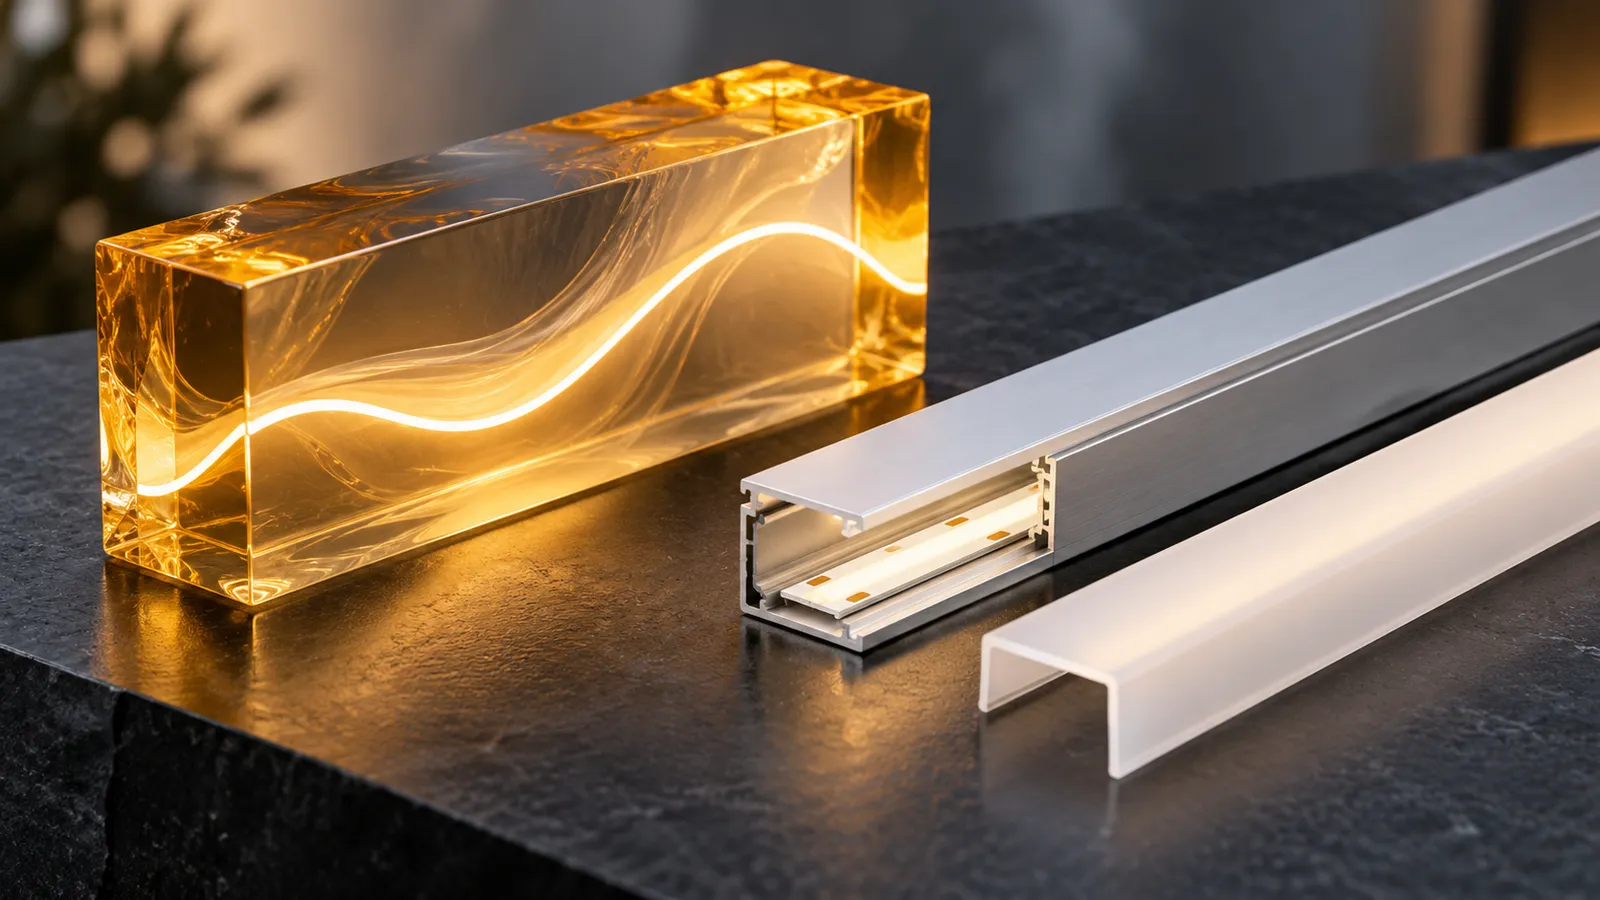
LED strips can be part of an engineered resin-encapsulated assembly. Ordinary tape still needs to be assessed with the exact resin and curing process before it is cast into an irreversible construction. Check the tape materials and operating conditions as part of that assessment. Lighting immediately after curing does not establish long-term compatibility.
For decorative joinery or illuminated objects in UAE and Saudi projects, decide whether encapsulation is needed at all. A removable profile behind a separate translucent feature may achieve the visual effect while leaving the tape accessible. Compare that construction with direct encapsulation during the design review.
Review chemical compatibility and curing separately
Cree LED’s XLamp chemical-compatibility document explains how incompatible chemicals around LEDs can reduce light output or shift color. It identifies adhesives, coatings and potting compounds among the materials requiring attention. Its material lists and tests concern its own LEDs; they do not establish that an epoxy is suitable for LEDStripStar tape or Sanan components.
Obtain compatibility guidance for every material the resin contacts: the PCB surface, LED encapsulant, existing jacket, soldered connections and lead insulation. Assess the specific combination. The resin’s clear appearance after curing leaves its chemical and thermal suitability unresolved.
MacDermid Alpha’s potting-material selection guidance treats operating temperature, mechanical stress and environmental exposure as application-specific selection factors. Epoxy, polyurethane and silicone formulations are different options, with different properties. The chemistry name alone cannot select the material for an LED assembly.
Curing introduces another heat condition. WEST SYSTEM’s uncontrolled-cure guidance explains that epoxy curing releases heat and that larger or thicker masses can build up more heat. Use the chosen resin manufacturer’s process limits and handling instructions. There is no universal safe pour depth, mixing ratio or cure schedule for every resin and tape combination.
Have the responsible fabricator define the process before making the trial. Keep the tape disconnected during casting and curing. Establish how the actual assembly will be checked without altering the resin supplier’s specified process.
Evaluate the complete assembly before a bulk order
The useful trial includes the intended resin geometry, tape variant, mounting surface and cable exits. A thin material coupon and a deep finished casting expose components to different conditions. Treat changes to the resin formulation or construction as reasons to review the sample again.
| Review area | Question to settle | Evidence for the decision |
|---|---|---|
| Materials | Are the exact contacting materials compatible? | Supplier guidance and evaluation of the selected combination |
| Cure | Will the specified process stay within component limits? | Defined resin process and representative sample observations |
| Operating heat | Can the finished construction meet its thermal limits? | Measurements under agreed load and ambient conditions |
| Appearance | Does it meet the required color and diffusion? | Finished sample reviewed at intended brightness and viewing positions |
| Environment | What exposure must the complete assembly withstand? | Application-specific assessment including cable exits and joints |
| Service | What happens when the tape or a connection fails? | Agreed replaceable part or complete-object replacement plan |
Inspect the sample before powering it, once the resin has cured according to its instructions. Record visible bubbles, cracks, separation or damaged connections. Compare the sample with the agreed finish. An illuminated sample can still fail that visual check.
Have the complete sample checked at its intended load, with the planned heat path and ambient conditions. The strip-temperature guide explains why touch alone cannot establish suitability. Use the limits for the actual tape and surrounding materials. Resin temperature, PCB temperature and an LED’s internal junction temperature are different quantities.
Record the initial output and color under a repeatable setup, then define the required follow-up evaluation with the component and resin suppliers. A project requiring durability evidence needs an agreed method and duration. A short demonstration cannot establish a lifetime claim or an absence of future yellowing.
Encapsulation also does not assign an IP rating to the finished object. Cable entries, joints and the complete construction remain part of the environmental assessment. Specify the actual exposure before deciding whether a separately manufactured waterproof tape construction is a candidate. Its existing rating does not establish compatibility with a resin poured around it.
Choose a service strategy before closing the design
Direct encapsulation can make tape and joints impractical to reach. Decide before fabrication whether a fault will require replacement of the whole illuminated object or whether the design can include a removable lighting cartridge. Keep the driver and any controller accessible in a suitable separate location.
For joinery, compare a removable aluminum profile behind a separate resin feature. This keeps the optical material and the serviceable light source distinct, though the assembled detail still needs thermal and visual checks. Review profile space and cover removal using the profile selection guide.
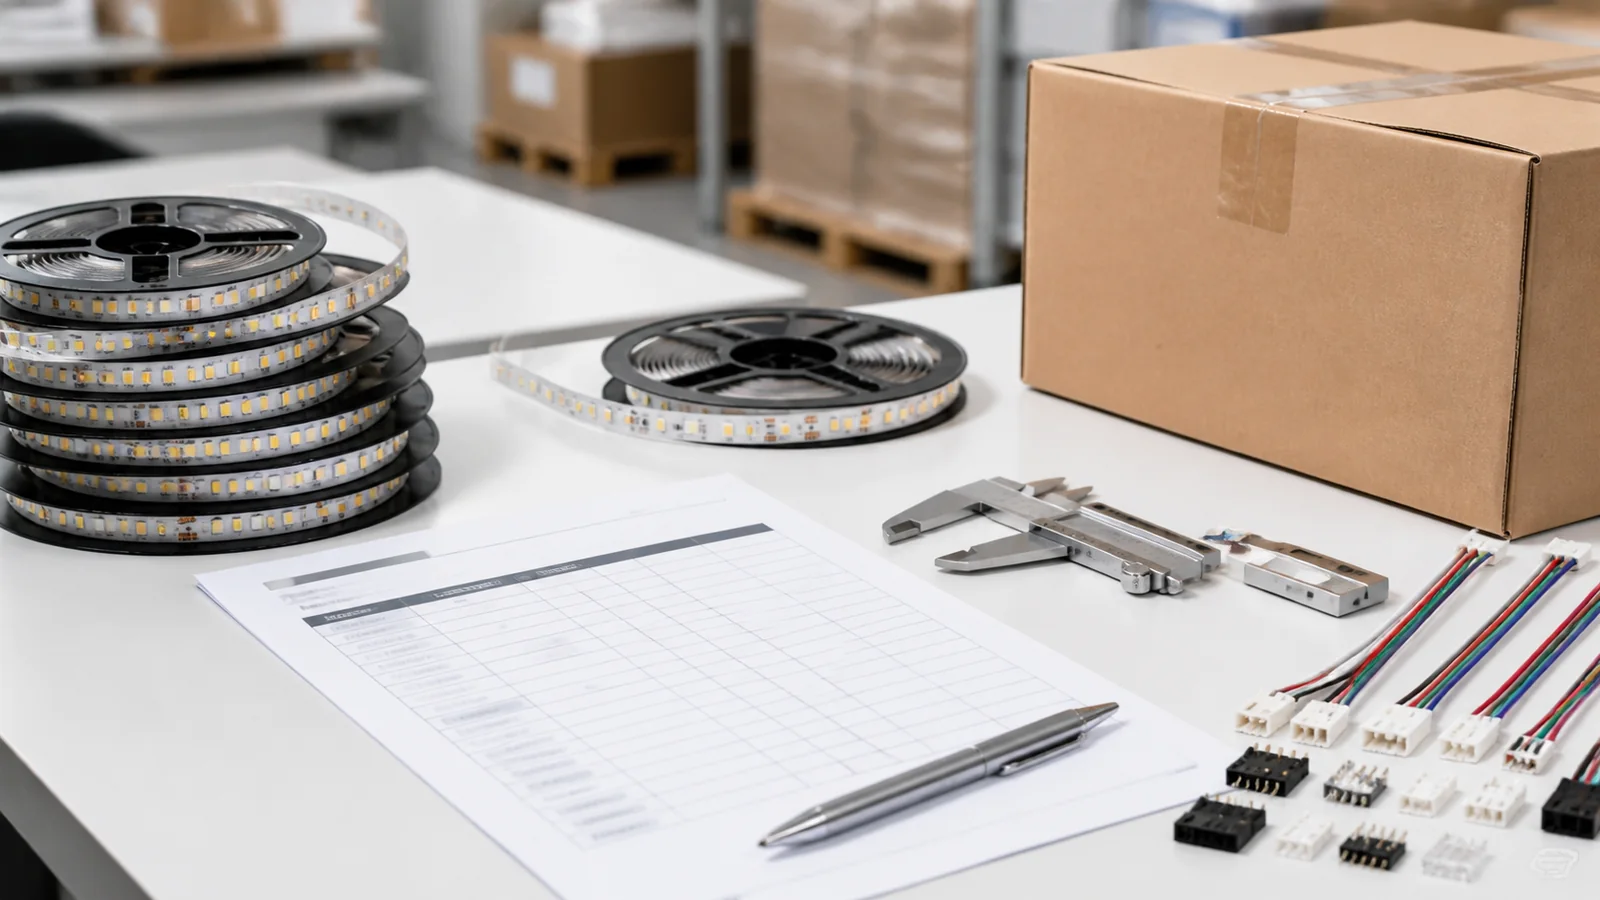
LEDStripStar’s COB catalog identifies tape candidates; it does not establish resin compatibility. Send the proposed cross-section and operating requirements before selecting the tape. Assign material qualification, casting and final assembly assessment to the responsible fabricator and relevant equipment suppliers.
Catalog & Sourcing Note
This article is prepared from our current product catalog and B2B specification workflow. Electrical, waterproofing and installation requirements vary by model and market, so confirm the final specification and approved sample before ordering.
Discuss Your Specification