The short answer
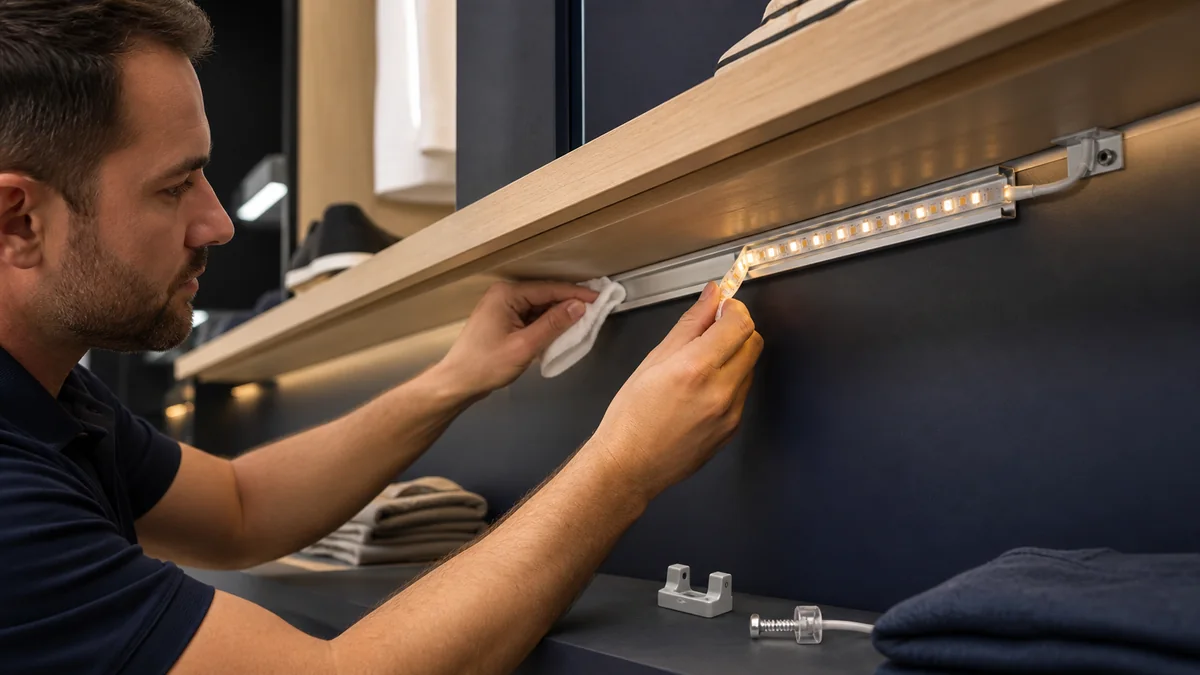
To keep LED strip lights from falling off, install them on a clean, dry, smooth and compatible surface, apply even pressure along the full bond line, and keep cable weight and bends from pulling on the tape. Use an aluminum profile, clips or another specified mechanical support when the surface is rough, porous, curved, hot, damp or overhead. The adhesive backing is a mounting component, not a universal fastening system.
Do not solve a falling strip by adding random glue over dust or old adhesive. The repair may hide poor thermal contact, attack the encapsulation or make the next failure harder to inspect.
Why LED strip adhesive lets go
Most adhesion failures can be traced to one or more of these conditions:
- dust, grease, polish, release agent or cleaning residue remains on the surface;
- the mounting surface is porous, textured, oxidized, powder-coated or otherwise difficult for the selected tape;
- the strip was pressed only at a few points instead of across the full width;
- installation occurred in a cold, damp or dusty area outside the tape supplier’s conditions;
- the strip was powered before the bond developed as required by the adhesive instructions;
- the cable, connector or a tight corner continuously peels the strip away;
- heat softens the adhesive or changes the mounting surface;
- a waterproof coating, silicone body or heavy connector needs a different retention method;
- the strip is bridging screw heads, joints or gaps, so only part of the tape touches the base.
Pressure-sensitive adhesive performs best when it makes intimate contact with a suitable surface. 3M’s official surface-preparation guidance for VHB tape explains that cleaning and firm application pressure improve adhesive contact. The page is guidance for 3M VHB products, not a blanket specification for every backing used on LED tape. Follow the data sheet supplied for the actual adhesive.
A reliable installation method
1. Qualify the surface before the project starts
Identify the actual substrate: bare or anodized aluminum, glass, painted metal, laminate, sealed wood, unfinished wood, plaster, stone, plastic or silicone. “Cabinet” is not a surface specification. Paint chemistry, texture and contamination can vary between locations that look identical.
For a production or retail rollout, bond short samples to the real finished substrate. Test them after the required conditioning period and in the expected temperature and humidity. A sample on clean workshop aluminum does not qualify a powder-coated shelf at site.
2. Make the base flat and continuous
Remove burrs and keep the strip away from screw heads, sharp edges and channel joints. The PCB must not span a gap or ride on a ridge. If an aluminum profile is specified, check its usable internal width against the PCB and connectors before ordering.
Our COB 8mm 320 LED/m CRI95 model, for example, has an 8mm PCB and a listed power of 12W/m. Those values help select a profile, but the profile drawing still needs to allow for solder joints, cable exits, diffuser clips and manufacturing tolerances.
3. Clean with a method approved for both surface and tape
Remove loose dust first. Then use the cleaner and procedure specified by the adhesive supplier and accepted by the surface manufacturer. 3M’s VHB application guide emphasizes substrate cleaning and pressure across the tape width. Some applications require additional degreasing, abrasion or primer, but these steps are material-specific and should not be improvised.
Allow the surface to dry completely. Do not trap cleaner beneath the tape, and do not touch the cleaned bond area with fingers.
4. Position once, without stretching the strip
Plan the route, feed direction and cable exit before removing the liner. Peel a short section at a time, align the PCB and lay it onto the base without stretching or twisting. Do not force a straight strip around a corner tighter than the product permits. Cut and reconnect, or use the specified corner method.
5. Apply uniform pressure
Press along the entire strip width with a clean roller or suitable applicator that will not damage LEDs or components. Do not press directly on fragile packages with a hard edge. Firm, uniform contact is more useful than repeatedly lifting and repositioning the strip.
6. Respect the adhesive’s conditioning time
Bond strength develops according to the adhesive system, surface and environment. Use the supplier’s stated installation temperature and waiting time rather than a universal number copied from another tape. Keep the strip supported and unloaded during that period.
7. Remove peel forces from cables and connectors
Secure the lead wire separately so its weight does not pull on the first solder pad. Leave a gentle service loop and add strain relief at cabinet joints, profile exits and controllers. A heavy solderless connector hanging from the strip is a lever; support it mechanically.
When adhesive tape is not enough
Use a profile, clips or the product’s specified mounting hardware when failure would create a safety or maintenance problem, or when the environment works against a pressure-sensitive bond.
Mechanical support is especially sensible for:
- overhead strips above merchandise, worktops or circulation areas;
- rough masonry, unfinished timber, fabric, foam or porous surfaces;
- outdoor or wet-area installations;
- high-power strips that require dependable contact with a heat-spreading surface;
- silicone or fully encapsulated constructions;
- long vertical runs and locations with vibration;
- removable displays or installations that require service access;
- cable exits and corners that place peel stress on the tape.
An aluminum profile can provide a flat mounting base, mechanical protection and better heat spreading while also controlling the optical result. It is not automatically suitable: confirm internal width, depth, diffuser clearance, clip spacing and thermal capacity for the selected strip. The diffusion guide explains how strip, profile and cover interact.
For outdoor work, do not puncture a protected strip with arbitrary screws or staples. Use clips or channels intended for the exact construction and keep fasteners away from copper tracks, seals and cable entries. Compare the flexible silicone strip range and agree on mounting hardware before samples are approved.
Choose the mounting plan by surface
| Surface or condition | Practical approach |
|---|---|
| Clean, smooth aluminum | Strong candidate for the specified backing; verify finish, cleanliness, profile fit and operating temperature |
| Glass or glazed tile | Clean to the adhesive supplier’s method; avoid residues and support cables so they cannot peel the strip |
| Painted or powder-coated metal | Test the final coating, not bare metal; weak paint adhesion can fail beneath an intact tape bond |
| Laminate or sealed wood | Confirm the finish is stable and clean; use a profile if heat, service life or removal matters |
| Unfinished wood or porous board | Do not rely on standard strip backing without qualification; add a suitable profile or prepared mounting layer |
| Textured plaster, brick or stone | Create a flat mechanically fixed mounting base rather than bridging peaks with tape |
| Flexible plastic | Check surface energy, plasticizer migration, movement and tape compatibility with the supplier |
| Silicone or heavily encapsulated strip | Plan clips, a channel or manufacturer-approved adhesive; ordinary tape may not bond reliably to silicone |
| Cold, damp or dusty site | Correct the environment or postpone bonding; follow the adhesive’s application limits |
The mounting method must also suit maintenance. A permanent high-strength bond may be appropriate for one project and a liability for another that needs frequent replacement or access behind panels.
How to repair a strip that is already falling
- Switch off and isolate the low-voltage circuit.
- Photograph the failure and mark where lifting began: feed end, connector, hot section, corner or random area.
- Support the strip before removing it so the PCB and solder joints are not torn.
- Inspect for discoloration, cracked copper, moisture, softened adhesive and cable tension.
- Remove old adhesive and residue using methods safe for both the substrate and strip construction. Replace the strip if removal has damaged it.
- Correct the cause: flatten the base, improve thermal contact, reroute the cable, change the compatible adhesive system or add a profile and clips.
- Reinstall according to the approved procedure, then inspect after conditioning and again after normal full-load operation.
If the strip becomes unusually hot, treat adhesion loss as a symptom until the electrical and thermal design has been checked. Our guide to normal LED strip heat and troubleshooting gives a separate test sequence.
What a B2B buyer should specify
- exact strip model, PCB width, watts per meter and IP construction;
- mounting orientation: horizontal, vertical, overhead or curved;
- substrate material, finish, texture and cleaning restrictions;
- profile drawing, usable width, diffuser and clip system;
- indoor temperature and humidity range or outdoor exposure;
- cable exit, connector weight and strain-relief detail;
- required service access and removal method;
- adhesive brand and type if it is a controlled requirement;
- sample-bond method, conditioning time and pass/fail check;
- whether clips or profiles are required at joints, ends and intervals;
- installation instructions and replacement materials to ship with the order.
Include photos or a drawing of the mounting surface in the quotation request. For cabinet and shelf projects, the cabinet-lighting application page can help define the strip and profile together. A reliable installation starts before the reel is packed: the product, surface, adhesive, thermal path and mechanical support should be approved as one system.
Catalog & Sourcing Note
This article is prepared from our current product catalog and B2B specification workflow. Electrical, waterproofing and installation requirements vary by model and market, so confirm the final specification and approved sample before ordering.
Discuss Your Specification