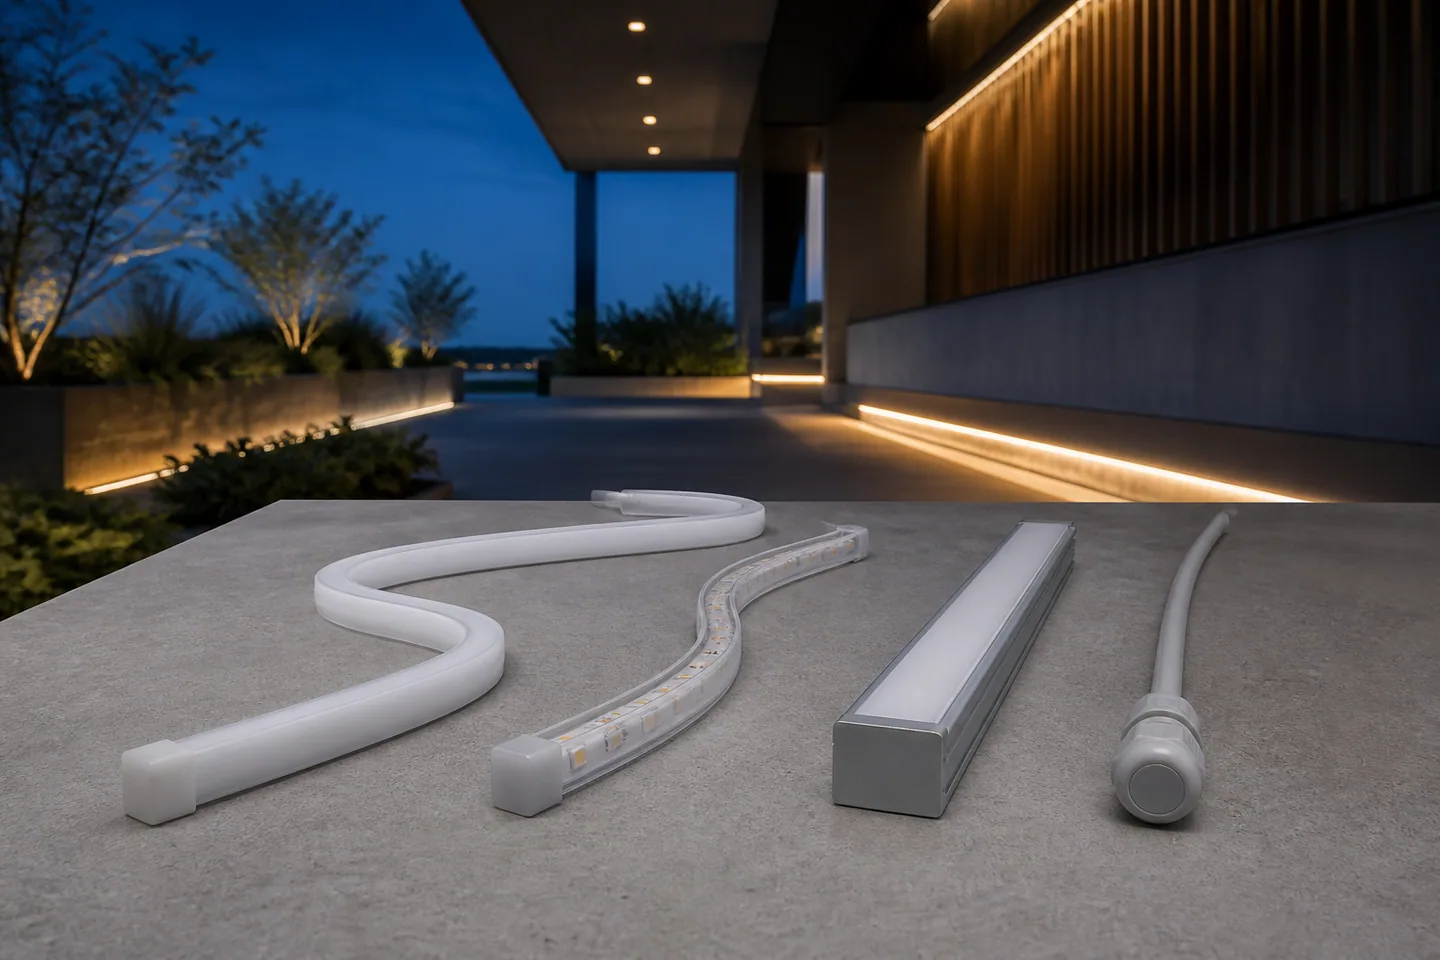
The short answer
The best outdoor LED strip is the construction that matches the actual exposure, visual effect, powered length, termination method and maintenance plan. There is no universal winner.
- For a visible dot-free building outline, start with silicone neon flex.
- For a concealed line under a sheltered edge, a protected low-voltage strip in a draining profile may be more efficient and serviceable.
- For exposed landscape details, use a fully protected low-voltage construction with factory-planned leads and end seals.
- For long outlines, compare multiple 24V feeds with a purpose-designed mains-voltage system; do not choose mains voltage only to avoid wiring design.
The seven configurations below are organized by project condition and were checked against publicly available technical principles on September 5, 2026.
How we compared the outdoor options
We used seven buyer-facing criteria:
- water, dust, UV and cleaning exposure;
- whether the light source is visible;
- required bending direction and minimum radius;
- voltage and branch length;
- cut interval and termination method;
- heat path and mounting support;
- access for replacement.
The IEC 60529 IP Code classifies enclosure protection under defined conditions. An IP number is important, but it does not replace a drawing of the cable entry, cut end, connector, profile and drainage detail. Compare the completed assembly, not only the middle of an untouched reel.
Current catalog pages show available starting configurations. Agree the final order specification and approve the complete sample before production.
Seven outdoor LED strip configurations worth shortlisting
1. Sheltered soffit: protected 24V strip in an aluminum profile
Best fit: covered entrances, balcony undersides and façade recesses with limited direct water exposure.
The profile straightens the line, supports the diffuser and makes replacement more orderly. It must not become a water trough. Add drainage, keep joints out of low points and confirm that the strip’s jacket, profile and mounting method can tolerate the environment.
Choose the power level from the required effect and thermal test. A diffuser and protective jacket can change output and heat behavior, so approve the complete sample.
2. Exposed façade edge: fully jacketed low-voltage strip
Best fit: concealed luminous edges exposed to wind-driven rain or frequent washing.
A silicone-jacketed construction protects more of the strip than a top coating, but every factory lead and field cut remains a separate detail. Specify lead direction, cable length, end cap, sealant and strain relief before pricing.
One current example to evaluate is the COB 8mm 320LED DC12/24V IP68 strip. Its listed 5 m/10 m supply lengths are not the same as a guaranteed powered run; the feed plan still depends on voltage, power, cable and allowable drop.
3. Visible architectural outline: silicone neon flex
Best fit: façades, arches, hospitality features and signs where viewers see the luminous surface.
Neon flex adds a diffusing silicone body that can create a smoother line and hide individual LED points. Confirm the emission direction—top bend and side bend are not interchangeable—and check minimum bend radius, cross-section, clip spacing, cut interval and end-cap clearance.
Review the LED neon flex range, then test a corner and a termination at full scale. Tight bending near the lead can open a seal or create a visible dark section.
4. Landscape step or path edge: low-voltage strip in a protected, draining channel
Best fit: steps, planters and path borders where service access is possible.
Low voltage reduces the consequence of contact compared with a mains-voltage strip, but the complete system still needs suitable drivers, cable joints and mechanical protection. Keep the strip out of standing water where possible. Route drainage away from terminations and avoid placing connectors where maintenance requires breaking paving.
Use glare control: a bright line at eye level can be uncomfortable even when it looks attractive in a catalog photo.
5. High-output exterior linear detail: dense strip in a substantial profile
Best fit: sheltered wall washing or bright architectural accents where a profile can provide mounting and heat spreading.
Higher watts per meter can raise output, but it also increases current and heat. Verify the strip in the actual profile after thermal stabilization. Check diffuser loss, feed-end versus far-end output and driver derating at the expected ambient temperature.
Do not use LED count as a substitute for measured performance. The lumen verification guide explains how to control sample length, input power and test conditions.
6. Long building contour: segmented 24V feeds or a purpose-designed mains-voltage system
Best fit: rooflines and long outlines with limited driver locations.
First divide a 24V system into parallel branches and calculate cable drop. This is often easier to isolate and service than one very long powered chain. If the project still favors a mains-voltage strip, confirm its cut unit, rectifier, cable, end seals, protective device and permitted installation method as one model-specific system.
Mains-voltage work has higher consequences and belongs to qualified electrical design and installation. Never mix accessories from products that merely share the same nominal voltage.
7. Seasonal or frequently serviced display: modular low-voltage assemblies
Best fit: temporary hospitality décor, event structures and retail exteriors that are installed and removed repeatedly.
Use manageable labeled sections with keyed connectors, protected end caps and a documented branch schedule. Mechanical handling may be a greater risk than rainfall: cables are pulled, strips are folded and connectors are mated many times.
Specify spare sections and inspect seals and contacts at every reinstallation. A reusable system is not the same as a permanently buried one.
Outdoor LED strip comparison table
| Project condition | Starting configuration | Main advantage | Main buyer check |
|---|---|---|---|
| Sheltered soffit | 24V protected strip + profile | Serviceable straight line | Drainage and diffuser result |
| Exposed façade edge | Fully jacketed low-voltage strip | Better all-around strip protection | Lead and end-seal construction |
| Visible outline | Silicone neon flex | Smooth luminous surface | Bend direction and termination |
| Landscape edge | Low-voltage strip + draining channel | Separation into serviceable zones | Standing water and joint location |
| High-output detail | Dense strip + substantial profile | More optical and thermal control | Stabilized temperature and feed plan |
| Long contour | Parallel 24V branches or engineered mains system | Supports long architecture | Electrical design, cut unit and protection |
| Seasonal display | Modular labeled low-voltage sections | Faster replacement and inventory control | Connector cycles and handling damage |
This table narrows the shortlist; it does not approve a model. Two products with the same IP number may have different jackets, leads, bend limits and chemical resistance.
Approve the complete outdoor system
Build a representative mock-up that includes the hardest corner, longest feed, actual profile, one cable entry and one end termination. Test it in the intended mounting orientation.
The approval record should identify:
- exact strip model, voltage, power, CCT and reel or supply length;
- jacket or encapsulation construction and finished dimensions;
- profile, clips and mounting spacing;
- driver, controller and protective-device arrangement;
- cable type, connector, lead and end-cap details;
- branch lengths and feed locations;
- bending, drainage and service-access rules;
- inspection method and acceptance criteria.
For cut ends and joints, use the controlled workflow in the waterproof connection guide. Do not use an energized bucket demonstration as proof of long-term field performance.
Outdoor LED strip RFQ checklist
- installation drawing, orientation and total length;
- sheltered, rain-exposed, washed, submerged or buried condition;
- expected UV, temperature, salt, chemical and cleaning exposure;
- visible line, concealed source, wall wash or signage effect;
- voltage preference and longest powered branch;
- CCT, CRI, color control and dimming requirements;
- required cut interval and factory-cut lengths;
- quantity and direction of leads, joints and end caps;
- profile, clips, diffuser, drainage and cable route;
- driver location, ventilation and service access;
- sample and finished-assembly test plan;
- destination-market requirements the importer must address.
Compare the current waterproof LED strip range, then send the exposure description and drawing through the quotation form. Without those details, “best waterproof strip” is too vague for a dependable quotation.
Catalog & Sourcing Note
This article is prepared from our current product catalog and B2B specification workflow. Electrical, waterproofing and installation requirements vary by model and market, so confirm the final specification and approved sample before ordering.
Discuss Your Specification