The short answer
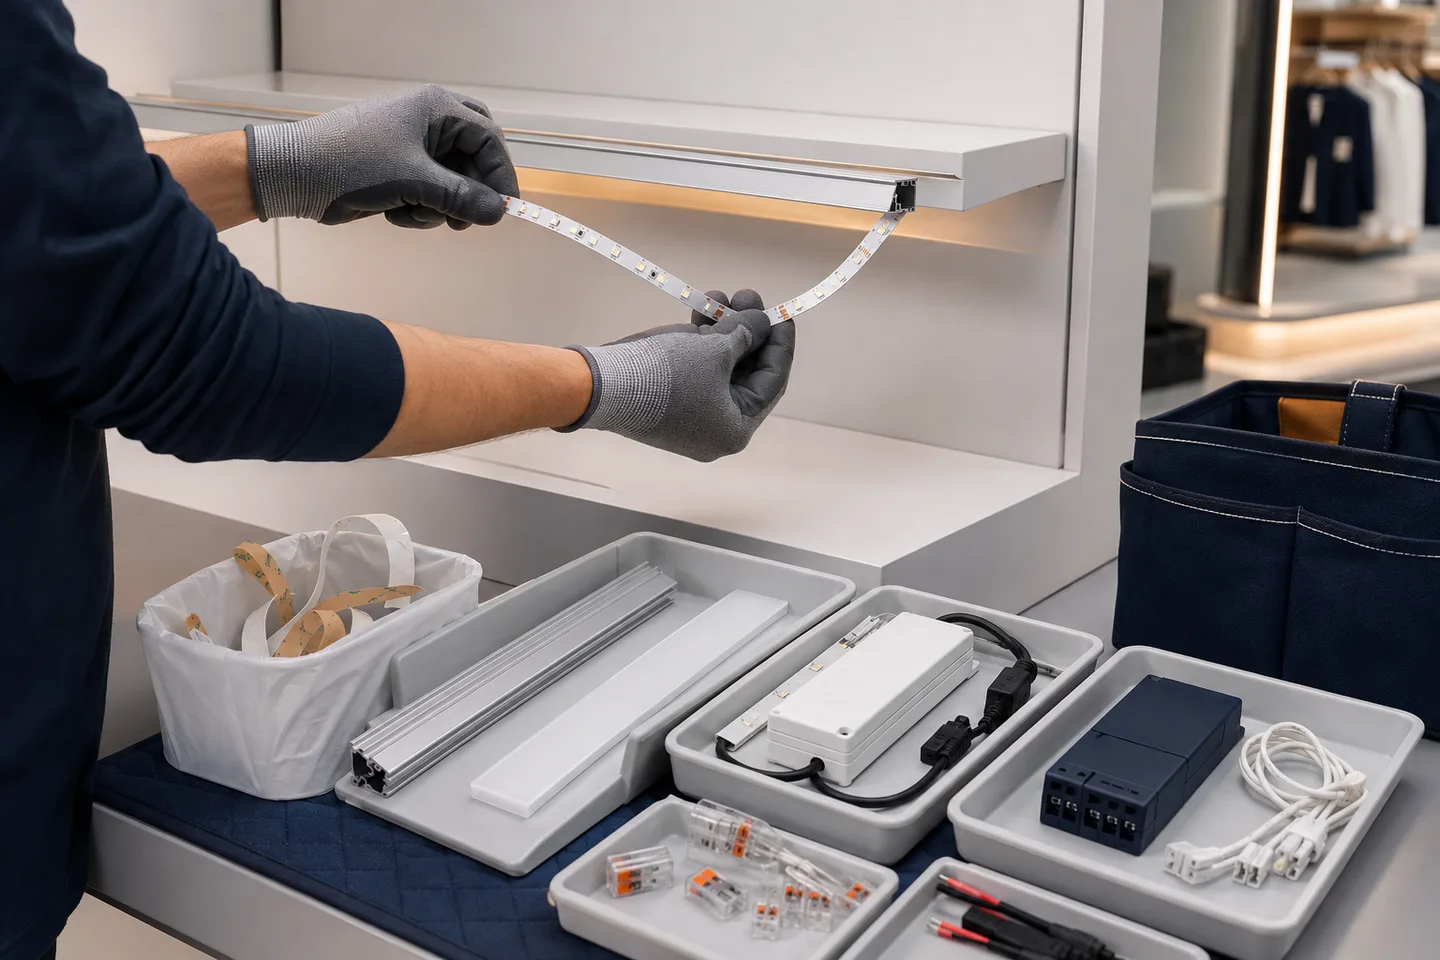
Yes, an LED strip can sometimes be reused, but the strip must survive removal without creases, torn copper, damaged components or contaminated coating. The power supply, controller, aluminum profile, diffuser and undamaged connectors are usually easier to reuse than the flexible tape itself.
Do not rely on the old adhesive for the second installation. Remove its residue, use a mounting method suited to the new surface, and electrically test the strip before it returns to service. If the strip was overheated, sharply bent, exposed to moisture or pulled off by force, replacement is the safer procurement decision.
For an exhibition booth or temporary retail display, reuse should be planned before the first installation. Clips or a removable aluminum channel make that much easier than bonding the strip directly to painted drywall.
What can usually be reused?
| Part | Reuse decision | Check before reuse |
|---|---|---|
| LED strip | Conditional | PCB flatness, copper pads, solder joints, coating and full-length operation |
| Power supply | Often possible | Output voltage, load rating, case and cable condition |
| Controller/dimmer | Often possible | Voltage, channel type, current capacity and pairing/reset state |
| Aluminum profile | Usually practical | Straightness, mounting holes, corrosion and fit with the new strip |
| Diffuser | Usually practical | Cracks, yellowing, clips and fit |
| Solderless connector | Conditional | Contact tension, oxidation, latch condition and PCB-width match |
| Old adhesive | No | Replace it; a lifted or contaminated bond is not dependable |
Compatibility does not travel automatically with a reusable part. A 24V strip must not be connected to a 12V supply simply because the connector fits. RGB, tunable-white and addressable strips also require the correct channel count, pin order and control method.
How to remove LED strip lights for possible reuse
1. Isolate power and document the wiring
Switch off and disconnect the power source. Photograph the supply label, controller terminals, polarity, connector orientation and feed points. Label both ends before separating a multi-channel strip.
If fixed mains wiring is involved, use a qualified person under the rules that apply at the installation site. The flexible strip side may be low voltage; the driver input is not necessarily low voltage.
2. Release profiles and clips first
If the strip is in a profile, remove the diffuser and release the complete profile where practical. If clips hold an encapsulated strip, undo the clips instead of pulling the silicone body through them. Keep screws and matching parts together.
3. Peel slowly, close to the surface
Start at an accessible end and pull the tape back at a low angle. Support the flexible PCB near the peel line so the force does not create a sharp fold. Do not pull on the cable, solder joint, LED or resistor.
Gentle warming may soften some pressure-sensitive adhesive, but temperature limits depend on the strip, coating, surface and tape. Do not apply uncontrolled heat. Stop if the PCB begins to stretch, curl tightly or separate from its backing.
4. Keep the strip flat
Place the removed strip on a clean, non-conductive flat surface or wind it loosely onto a reel with a suitable core. Never fold it into a bag. Keep removed adhesive residue away from LEDs, solder pads and connector contacts.
3M’s application guidance explains why surface cleaning and application pressure matter to a tape bond. The exact preparation still depends on the mounting tape and substrate selected for the new installation.
The go/no-go inspection
Inspect the entire length under good light before adding new adhesive. Reject or cut out a damaged section only at a marked cut point when you find:
- a white stress line, crease or crack across the PCB;
- lifted LEDs, resistors or solder joints;
- torn copper pads or a partially detached lead wire;
- a cut, cloudy area or water path in the protective coating;
- darkened PCB, hardened adhesive or other signs of overheating;
- corroded contacts or silicone that has separated from the strip.
Then test the strip on a current-capable supply set to the correct voltage. Begin with a short functional check, verify polarity and channel order, and inspect every segment. For a longer run, operate it in the proposed mounting arrangement and compare voltage and brightness at the feed and far end. A strip that lights briefly is not automatically fit for another full installation.
Document the retained length and any new joints. If the project needs consistent appearance across several fixtures, compare reused and new sections side by side through the same diffuser. Aging and contamination can make them look different even when both illuminate.
Choose the new mounting method
New adhesive tape can work on a smooth, clean, dry and compatible surface. Remove the old residue without damaging the PCB, apply the specified tape evenly, and use firm pressure. Adhesive alone is a poor recovery plan for dusty masonry, textured paint, oily material or an overhead location where falling creates risk.
Mounting clips suit removable displays and many silicone-covered strips. Match the internal clip size to the finished strip dimensions; clips must not crush the coating or cover emitters.
An aluminum channel gives the strip mechanical support and a replaceable assembly. It can also help manage heat and diffuse visible LED points, although the profile and diffuser must be tested with the actual strip.
The mounting-method comparison provides a surface-by-surface decision table.
Design the first installation for the second use
For rental, pop-up retail, exhibition and seasonal projects, write reuse into the bill of materials:
- divide the layout into replaceable straight modules;
- use profiles or clips that can be released without pulling the PCB;
- place drivers and controllers where they can be disconnected and inspected;
- label voltage, polarity, channel order and module position;
- keep spare connectors, mounting parts and matching strip from the same order;
- specify a transport reel and protected storage box;
- allow time for inspection and burn-in before the next event.
This approach may cost more than direct bonding on day one, but it turns reuse from a rescue attempt into a serviceable system.
Checklist before you approve reuse
- Power was isolated before removal.
- Model, voltage, polarity and control type are known.
- No PCB crease, torn pad, loose component or coating damage is visible.
- Leads, connectors, driver and controller are correctly rated and undamaged.
- The full retained length operates normally in a loaded test.
- Old adhesive has been removed and will not be reused.
- The new mounting method matches the surface, orientation and service need.
- Reused and new sections have been visually compared where appearance matters.
- A damaged module can be reached after installation.
Reuse the system only when it passes these checks. When removal damage is uncertain or access after installation will be difficult, replacing the flexible strip while retaining sound profiles and controls is often the more controlled choice.
Catalog & Sourcing Note
This article is prepared from our current product catalog and B2B specification workflow. Electrical, waterproofing and installation requirements vary by model and market, so confirm the final specification and approved sample before ordering.
Discuss Your Specification