The short answer
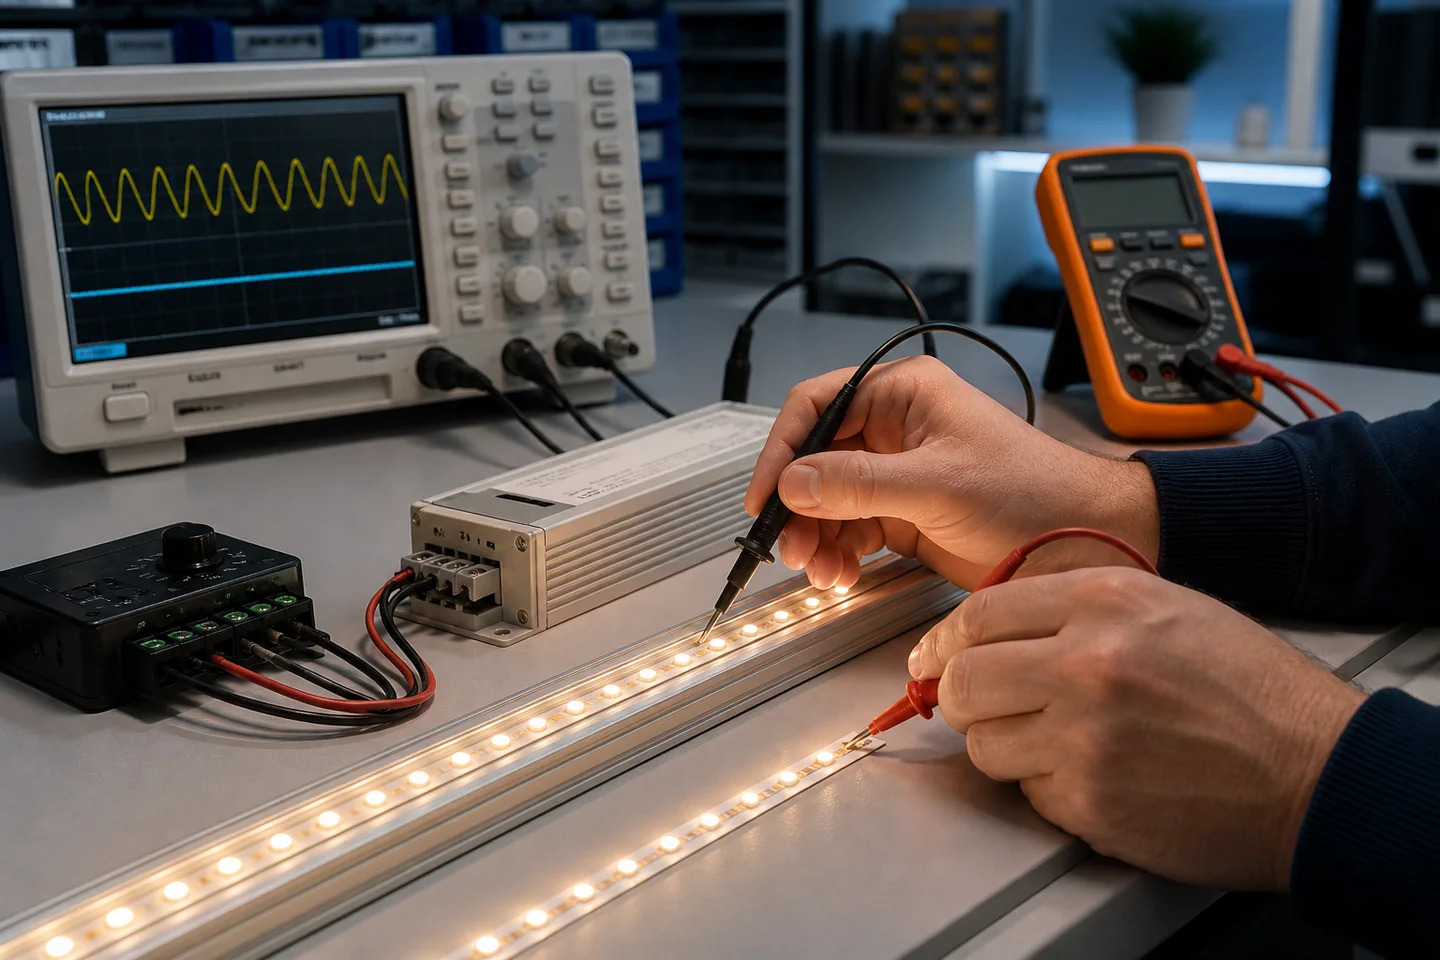
LED strip flicker is usually caused by an unstable or incompatible power path, not by the tape alone. Start with the symptom, then check the constant-voltage driver, dimmer or controller, load, wiring connections, cable voltage drop and the strip itself. Test one section at a time with known-compatible equipment; replacing several components at once hides the cause.
Stop and isolate the system if there is a burnt smell, melted insulation, a hot connector, visible arcing or exposed mains wiring. A qualified person should inspect the mains side. The sequence below is intended for controlled diagnosis of the low-voltage system and for documenting a supplier claim.
Describe the flicker before touching the wiring
“It flickers” is not enough information for a contractor or supplier to reproduce the fault. Record a short video and answer four questions:
- Does the whole installation flicker, one branch, one reel or one cut segment?
- Does it happen at full output, only when dimmed, only at startup or after the system warms up?
- Is the flicker regular, random, a single flash, or a repeating on-off cycle?
- Did it begin after a longer cable was fitted, another branch was added, a controller was changed or the product was enclosed?
A whole system pulsing on and off can indicate driver protection or a control problem. One branch behaving differently points more strongly to its cable, connector or load. A single dark group that does not recover is usually a local electrical or component fault rather than temporal flicker.
Do not rely on a phone camera as a pass/fail instrument. Rolling shutters and frame rates can make a stable light appear banded, or miss modulation that a dedicated meter detects. A phone is useful for comparing two samples under the same settings and for capturing an intermittent event.
Seven common causes of LED strip flicker
1. The driver is overloaded or entering protection
Calculate the connected strip load from the actual watts per meter and installed length, then include controllers and other loads where relevant. A driver near or beyond its permitted load may cycle, reduce output or shut down, depending on its protection design. The correct margin and derating conditions come from the exact driver data sheet; one percentage should not be applied to every product.
2. The driver output is unstable or unsuitable
A 12V strip needs a suitable 12V constant-voltage supply; a 24V strip needs a suitable 24V supply. A constant-current driver is not interchangeable merely because its wattage looks adequate. Poor output regulation, excessive ripple, thermal protection or a failing component can modulate the strip.
Measure at the strip input under the real load, using appropriate equipment and a competent technician. A no-load reading alone does not show what happens when the full installation is connected.
3. The dimmer and driver do not use the same control method
Mains phase-cut dimming, 0–10V, DALI and low-voltage PWM are different control architectures. A wall dimmer cannot be assumed to work with an ordinary non-dimmable driver. On the DC side, a PWM controller must match the strip voltage, channel count and current.
If the system works at full brightness but flickers below a certain level, repeat the test without the dimming device where the design permits. That separates a control-range problem from a basic strip or driver fault. See the full LED strip dimming compatibility checklist.
4. A loose or high-resistance connection is interrupting current
Inspect terminals, solder joints, plug connectors, cable splices and copper pads. A connection may look intact but move under slight strain or heat locally under load. Check polarity, conductor insertion, clamping, solder wetting and strain relief with the power isolated.
Do not keep pressing or bending a live connector to “find” the fault. That can create an arc or damage the copper pad.
5. Voltage drop is pushing the far end below a stable operating range
Long runs, undersized cable and a single feed can produce low voltage at the far end. The visible symptom is often dimming, color shift or instability when other branches switch on. Record voltage at the driver and at representative feed points under load, then compare the result with the agreed design limit.
Use the worked method in the power-supply and voltage-drop guide rather than guessing from cable diameter or reel length.
6. A controller or amplifier is undersized
RGB, RGBW, tunable-white and addressable systems add control electronics between the supply and strip. Check the current per channel, total current, common-anode or other wiring arrangement, control protocol, signal reference and amplifier placement. A controller may be within its total rating but overloaded on one channel.
For addressable tape, distinguish data errors from power modulation. Random colors or corrupted patterns can come from signal integrity, grounding or protocol issues even when the LEDs are not visibly pulsing in static white.
7. The strip or one production section is damaged
After the system checks pass, test a short known-good sample on the same equipment and test the suspect section on a known-compatible bench supply. Keep voltage, polarity and current capability within the product specification. If the fault follows the strip section, document the reel number, cut location, batch label, operating hours and photographs before returning material.
Test in the right order
Use one change at a time so the evidence remains useful.
| Step | Check | What the result tells you |
|---|---|---|
| 1 | Confirm model voltage, polarity and wiring diagram | Finds basic specification or connection mismatch |
| 2 | Reproduce at full output and at the problem dim level | Separates steady-state and control-related faults |
| 3 | Disconnect extra branches and reduce the load safely | Shows whether load or branch interaction is involved |
| 4 | Inspect and remake suspect low-voltage joints with power isolated | Tests intermittent connection faults |
| 5 | Measure driver output and voltage at feed points under load | Reveals regulation or voltage-drop problems |
| 6 | Bypass or substitute the controller with approved equipment | Isolates the control stage |
| 7 | Cross-test a known-good strip and supply | Identifies which component the symptom follows |
Record the equipment model and test condition at every step. “Tested with another power supply” is not useful if its voltage, power, dimming behavior and protection mode are unknown.
Why dimming creates its own flicker problems
PWM dimming switches the LED current rapidly. A lower setting can change pulse width, frequency or both. Whether modulation is noticeable depends on the waveform, frequency, depth, viewing condition and movement—not only on a single “flicker-free” label.
For a project specification, define the control system and the dimming range that must be tested. A sample approved at 100% output does not prove acceptable performance at 10%, during fades or with the project’s actual control gear. Test the complete chain: control command, driver, controller, cable and strip.
How professional flicker measurement differs from a camera test
A suitable light-measurement instrument can record the light output over time and calculate metrics relevant to the destination market or project. The CIE describes temporal light modulation using waveform characteristics such as modulation frequency, depth, duty cycle and repetition pattern.
For products within its scope, the EU Ecodesign Regulation uses PstLM for flicker and SVM for the stroboscopic effect. The consolidated requirements include PstLM at or below 1.0 at full load and, from September 2024, SVM at or below 0.4 at full load for covered mains LED and OLED light sources, with stated exceptions. These limits should not be copied blindly onto every bare DC strip or every installation; first establish whether the exact product and configuration fall within the regulation’s scope. See Commission Regulation (EU) 2019/2020.
When comparing suppliers, ask for the test configuration as well as the number: strip model, driver or rectifier, controller, input supply, output setting, dimming level, measurement instrument and report date. A result obtained with one laboratory driver does not automatically describe performance with the buyer’s site equipment.
What to send with an RFQ or flicker complaint
- exact strip model, voltage, color type and reel or batch code;
- driver, dimmer, controller and amplifier model numbers;
- installed length and watts per meter for each branch;
- cable size, one-way cable length and feed arrangement;
- the brightness setting or operating condition that triggers the fault;
- a wiring sketch and photographs of connections;
- voltage readings taken under load by a competent person;
- a short video showing the whole affected area and a close view;
- destination-market or project flicker requirement, if one applies;
- comparison result from a known-good strip or supply.
For a new order, start with the 12V and 24V LED strip range, then send the intended driver, control protocol, run lengths and target market through the quotation form. Flicker performance belongs to the assembled system; it should be approved that way before bulk installation.
Catalog & Sourcing Note
This article is prepared from our current product catalog and B2B specification workflow. Electrical, waterproofing and installation requirements vary by model and market, so confirm the final specification and approved sample before ordering.
Discuss Your Specification