Yes, on a suitable tile surface and with the right support
LED strip can be mounted on smooth glazed tile, but its factory backing should not be assumed to work on every tiled surface. Soap film, grout dust, sealers, texture, moisture and cable weight can all weaken the bond. A profile fixed independently of the strip is usually the safer choice for overhead work, wet areas and permanent commercial installations.
The first decision is whether the strip will attach directly to the tile or sit inside an aluminum profile. Direct bonding keeps the detail shallow. A profile gives the strip a flat base, spreads heat, protects the PCB and can carry a diffuser. It also separates the replaceable light source from the tile bond.
Review the finished tile, adhesive system, electrical route and cleaning method together. A sample stuck to unused tile in a workshop does not represent a wall exposed to steam, detergent or daily wiping.
Identify the tile and surface condition
Glazed ceramic and porcelain tile often provide a smooth bonding surface. Natural stone, textured tile, mosaic, grout joints and tiles treated with a sealer need separate assessment. The face may look clean while retaining polish, soap, grease or installation residue that prevents full adhesive contact.
Inspect the route before ordering materials:
- note every grout line, corner and change in tile level;
- check whether the profile or strip will bridge joints;
- identify silicone sealant near sanitary fittings;
- confirm how the wall is cleaned and how often it becomes wet;
- mark cable exits so the lead cannot pull on the first section;
- check whether drilling is permitted and what lies behind the tile.
A pressure-sensitive tape needs continuous contact. It cannot compensate for a recessed grout line or heavily embossed surface. Where the route crosses uneven joints, use a rigid profile or create a properly specified mounting base.
3M’s surface-preparation guidance for VHB tapes states that bonding surfaces should be clean, dry and unified. It also notes that ceramic, glass and stone are hydrophilic surfaces whose tape-bond durability can be affected by humidity. That guidance applies to 3M VHB systems. Use the instructions for the exact backing or mounting tape selected for the project.
Choose direct bonding or an aluminum profile
Direct bonding to tile
Direct bonding may suit a short, concealed interior run on flat glazed tile when the strip is light, the area stays dry and the installation can be serviced. The strip width must sit fully on the tile face. Keep it off grout lines and rounded tile edges wherever possible.
Do not let the cable hang from the copper pads. Secure the lead separately and leave a gentle service loop. Corners should use an approved bend, cut-and-wire joint or connector arrangement that does not peel the strip away from the wall.
The COB 8mm 320 LED/m CRI95 strip is listed at DC12/24V, 8mm PCB width and 12W/m. Those values help with profile and power planning, but they do not qualify a tile adhesive bond. Test the finished combination.
Profile mounted to tile
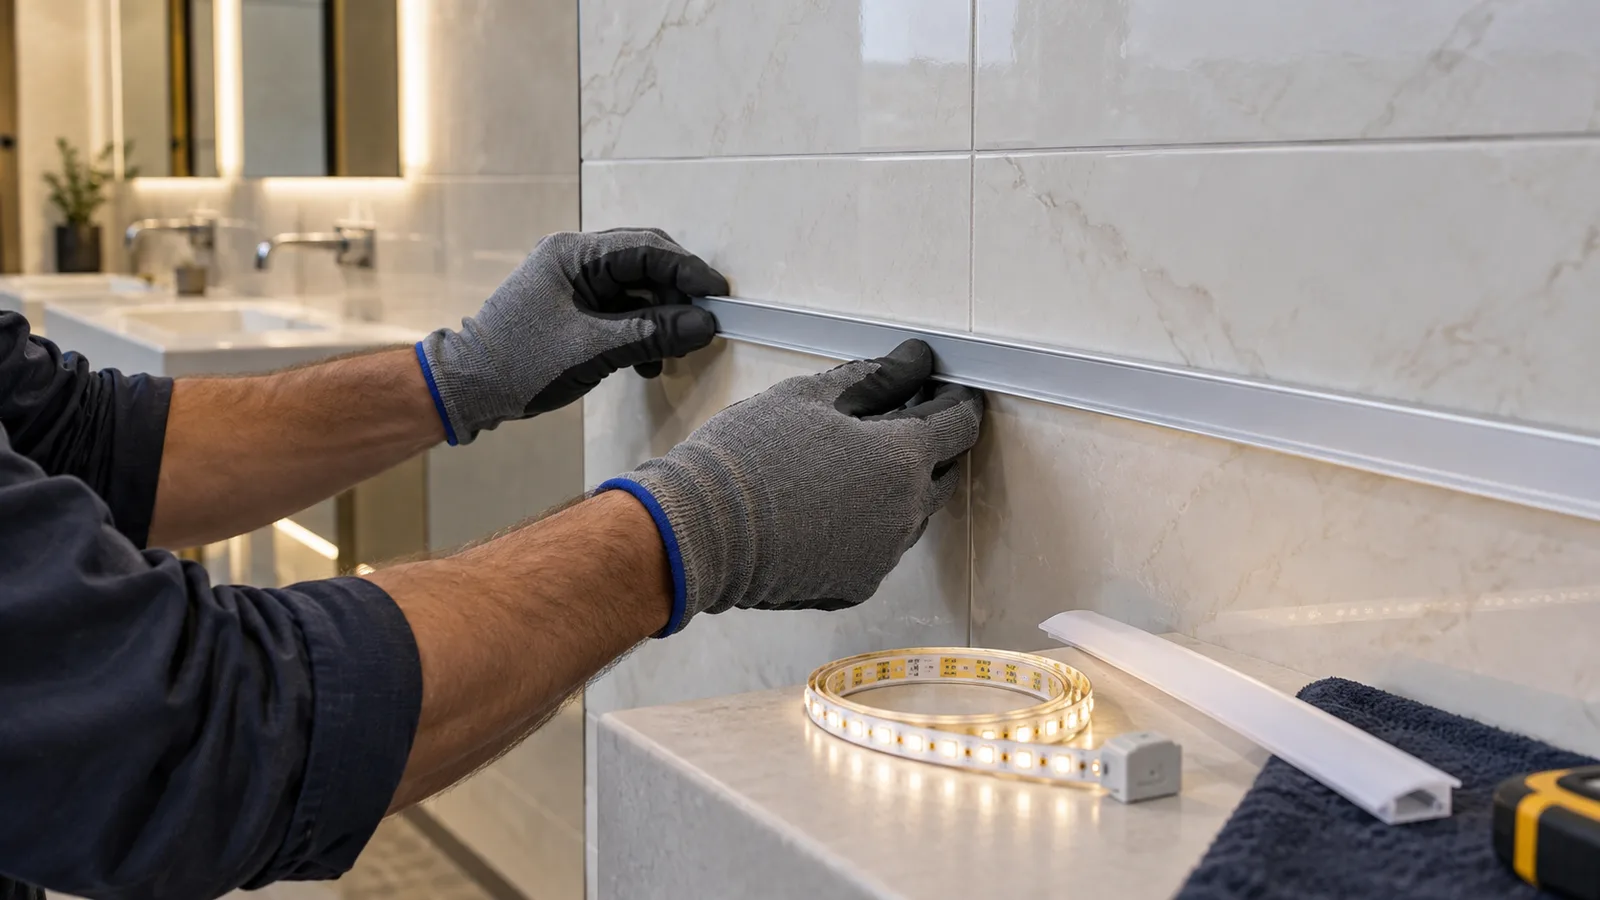
Use a profile when the strip is visible, runs overhead, crosses joints, needs a diffuser or must be replaced without scraping adhesive from the tile. Fixing options depend on the tile, wall construction and permitted drilling. Clips, a suitable structural tape or another approved fixing system can hold the profile. The strip then bonds to the clean aluminum inside the profile.
Do not drill before checking for concealed water pipes, electrical cables and waterproof membranes. In rented interiors or finished bathrooms, the client may prohibit penetrations. If an adhesive-mounted profile is proposed, qualify that bond separately and include the weight of the profile, diffuser, cable and strip.
The profile should be wide enough for the PCB, solder joint and connector. Its depth also affects whether LED points are visible through the cover. The profile selection guide explains how to compare internal width, depth, mounting and service access.
A practical tile installation sequence
- Isolate the circuit and dry-fit the strip, profile, cable and driver location.
- Clean the tile with the method approved for the selected tape and tile finish. Remove detergent and polishing residue, then allow the surface to dry.
- Test a small hidden area before using solvents, primers or abrasion. These can alter the tile, grout or sealer.
- Mark a straight route that keeps the bond on tile faces rather than grout recesses.
- Apply the tape or profile at the stated application temperature. Do not touch the prepared adhesive surface.
- Press uniformly along the complete bond line with a tool that will not damage the strip or tile.
- Support cables and connectors so they do not create peel force.
- Allow the bond to develop for the time stated by the adhesive supplier before adding load or operating at full output.
- Power the completed run at its rated voltage and inspect joints, color, brightness and temperature.
- Recheck the installation after the room has gone through its normal cleaning and humidity cycle.
3M’s VHB application page treats cleaning, pressure and bond development as separate steps. LEDVANCE’s 12V LED strip instructions show the installer removing a short section of liner at a time during placement. These references explain process principles; the purchased strip and tape still need their own instructions.
Tile does not make the electrical installation waterproof
A tiled wall can be exposed to splash, condensation and cleaning water. The tile surface may resist water while the strip, cut ends, connectors, cable entries, driver and controller remain vulnerable. Choose the construction from the actual exposure and local electrical requirements.
For protected strip, approve the finished length with its end treatment and cable entry. The COB 8mm 320 LED/m IP68 catalog model is one construction available for model-specific review. Its catalog IP description does not automatically cover a field cut, connector or the rest of the circuit.
Avoid creating a ledge where water can collect behind a profile. Plan drainage, cable direction and service access. Keep power equipment in a suitable location and use a qualified installer where local rules require one. The waterproof sample-test guide explains how to approve cut ends and connections before a quantity order.
What the RFQ and installation drawing should state
- tile type, finish, texture and whether it has a sealer;
- indoor dry, splash, steam or cleaning exposure;
- strip model, voltage, watts per meter, PCB width and protected construction;
- direct bond or profile, including the profile drawing and cover;
- fixing method for the strip and profile;
- cable exit, strain relief and connector location;
- run lengths, feed points, driver and dimming arrangement;
- grout joints, corners and permitted drilling zones;
- sample-bond procedure and inspection timing;
- cleaning method and future replacement access.
Send tile photographs, a section drawing and the electrical schedule through the quotation form. The approved sample should use the final tile or a representative spare tile, the proposed mounting system and the complete cable detail.
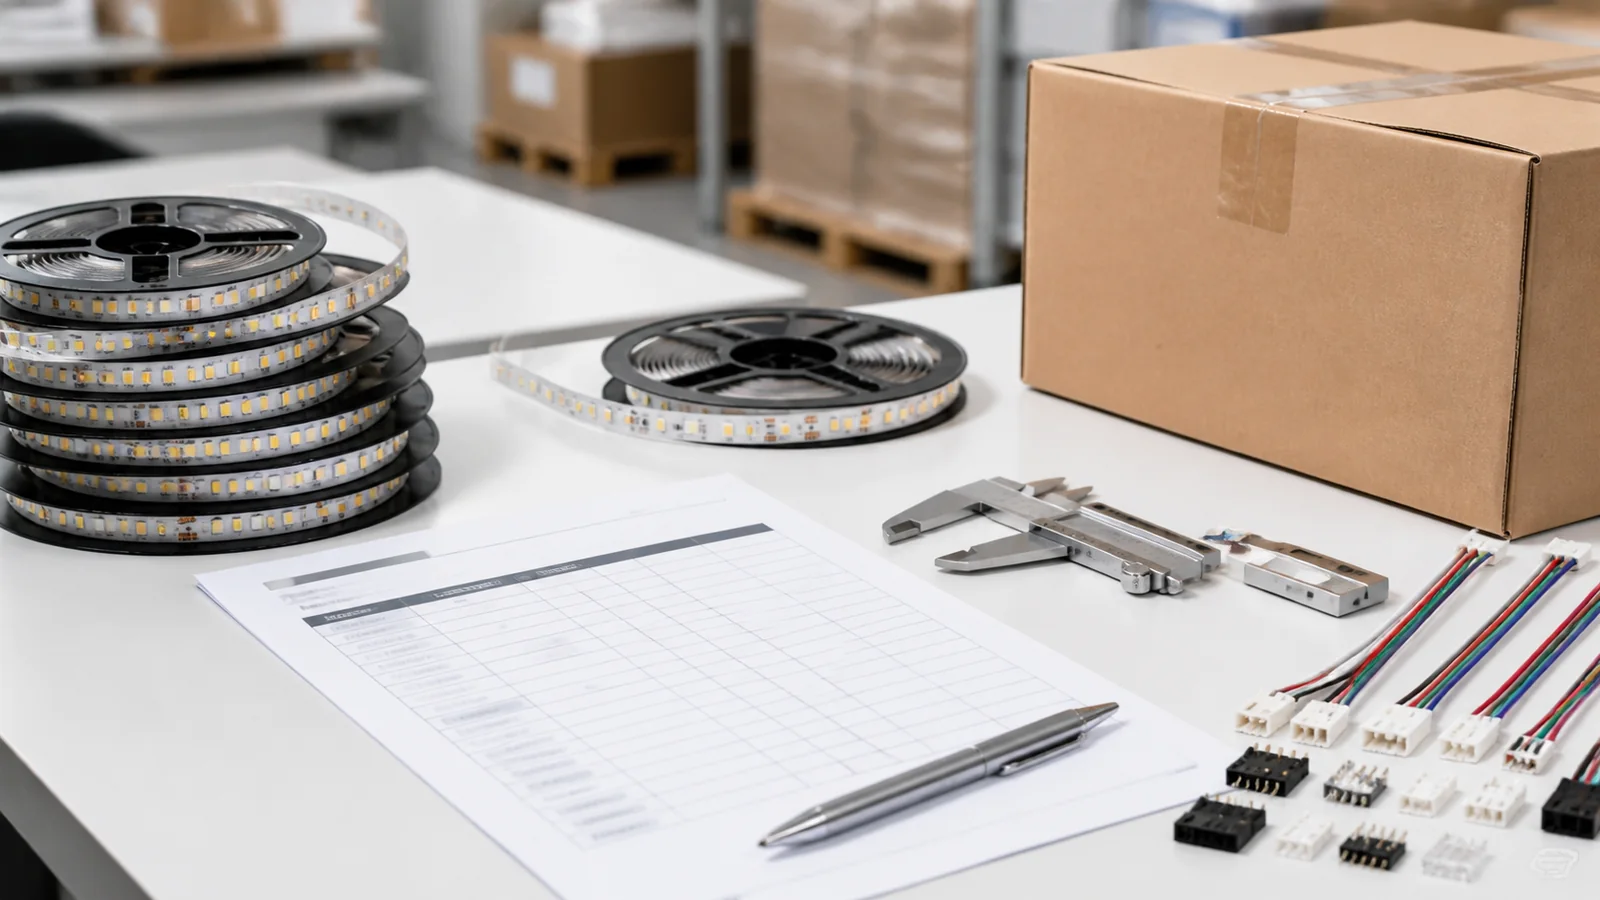
The header image is an editorial installation concept. It does not show a completed customer project or a tested mounting system.
Catalog & Sourcing Note
This article is prepared from our current product catalog and B2B specification workflow. Electrical, waterproofing and installation requirements vary by model and market, so confirm the final specification and approved sample before ordering.
Discuss Your Specification