The short answer
LED strip lights range from accent lighting to high-output linear lighting. The useful comparison is not “how many LEDs?” or “how many watts?” It is the verified lumens per meter together with the lux delivered to the actual work surface.
A strip rated at 1000 lm/m can appear bright in a shallow cabinet and disappointing in a high ceiling cove. Distance, aiming, aluminum profile, diffuser, surface color, room geometry and voltage at the strip all change the result. If the project has a required light level, approve the installed assembly by measurement rather than judging a bare strip on a desk.
For a room, one perimeter strip may provide pleasant ambient light but still leave desks, counters or shelves below the project requirement. “Bright enough to light a room” therefore has no universal yes-or-no answer; it depends on the room and the task.
Lumens per meter and lux answer different questions
Lumens per meter (lm/m) describe how much visible light a length of strip emits. Use this figure to compare two strips at the same stated test conditions. Do not confuse it with watts per meter, which describes electrical input rather than light output.
Lux (lx) describes the illuminance arriving at a surface. The Illuminating Engineering Society defines one lux as one lumen per square meter. That definition is simple, but the path from strip lumens to work-surface lux is not: light spreads, is absorbed by the diffuser and profile, misses the target, and reflects from surrounding surfaces.
The eyes also respond to the luminance and contrast of what they see, not just the illuminance falling on it. A dark shelf and a white shelf can look very different under the same measured lux. The IES discussion of lumens and illuminance is a useful reminder that a lumen value is a comparison tool, not a complete prediction of visual experience.
| Figure | What it tells the buyer | What it does not prove |
|---|---|---|
| lm/m | Light output for one meter under stated conditions | Lux on the shelf, floor or desk |
| W/m | Electrical load used for driver and thermal design | Brightness or efficiency by itself |
| lm/W | Luminous efficacy calculated from output and power | Distribution, glare, color quality or installed lux |
| lux | Light arriving at a defined point or measurement grid | Appearance on every surface or long-term output |
| LED/m | Component spacing and potential dot visibility | Total output without LED current and package data |
Six things that change installed brightness
1. Mounting distance and direction
Move the strip farther from the target and the same light spreads over a larger area. A shelf strip aimed directly at merchandise behaves differently from an upward-facing cove that relies on ceiling reflection. Record both the distance and the aim in the specification.
2. Profile and diffuser
A diffuser improves visual comfort and hides individual LEDs, but it also absorbs and redirects some light. The amount depends on the material, finish, thickness, profile geometry and LED-to-diffuser distance. Ask for data or test the strip, profile and diffuser together. Our diffusion guide explains why dot-free appearance and maximum transmission are competing objectives.
3. Surface color and room geometry
Light-colored ceilings and walls return more light to the room than dark finishes. Deep shelves, fascia boards and product packaging can block the beam. A lumen calculation that ignores these surfaces is only a rough starting point.
4. Voltage at the operating strip
Cable loss and long feeds can reduce voltage at the far end, causing lower output or visible brightness variation. Measure under load at the feed and far end, then correct the cable size, feed layout or run division. Use the power-supply and voltage-drop calculation before approving the electrical layout.
5. Temperature and thermal path
LED output and life depend on operating conditions. A high-power strip mounted on a poor surface inside a sealed recess may not perform like the same sample on an open aluminum profile. Test the intended profile, enclosure and ambient condition, not a loose reel.
6. CCT, CRI and spectral quality
Two strips with similar lumens can render merchandise or finishes differently. High CRI is valuable where color discrimination matters, but do not assume the highest CRI option also provides the highest efficacy. Compare the exact model, CCT and output bin required for the order.
A catalog comparison shows why LED count is not enough
These are current catalog configurations, not universal performance claims for every waterproofing, CCT or custom version:
| Model | LED density | Listed power | Listed output | CRI | Buyer interpretation |
|---|---|---|---|---|---|
| COB 8mm 320 LED/m | 320/m | 12W/m | 1000 lm/m | 95 | Continuous appearance and high color rendering for coves, cabinets and displays |
| SMD 2835 8mm 120 LED/m CRI98 | 120/m | 10W/m | 900 lm/m | 98 | A color-critical option whose installed appearance depends on profile and diffuser depth |
| SMD 2835 20mm three-row | 360/m | 30W/m | 2800 lm/m | 80 | Much higher listed output and power density; profile, driver and heat review are essential |
| SMD 2835 IP68 long-run strip | 120/m | 8W/m | 500 lm/m | 80 | Protected construction for relevant outdoor details; lower listed output than the examples above |
The table does not tell you which one is “best.” It narrows the sample list. The final decision still depends on application, thermal construction, required protection, viewing distance and measurement target.
Use a calculation to shortlist, then test the assembly
A first-pass estimate can start with:
average illuminance (lux) = lumens that actually reach the target ÷ target area in square meters
Do not multiply strip length by lm/m and divide by floor area as if every lumen reached the floor evenly. Cove losses, profile transmission, beam direction, shadows and room reflectance can make that assumption badly wrong. For a commercial project, use photometric data and a lighting calculation when available.
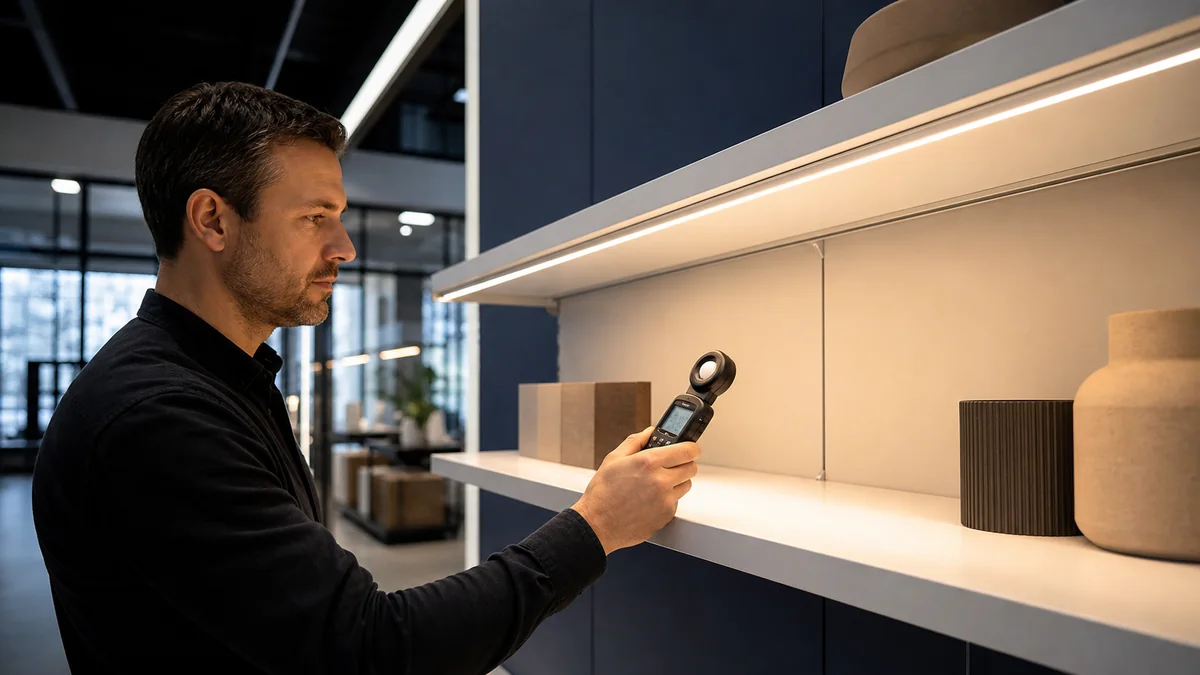
Then build a representative sample bay:
- Use the exact strip model, CCT, profile, diffuser and driver being quoted.
- Match the real mounting distance, shelf depth, surface finish and aiming.
- Allow the assembly to reach a stable operating condition.
- Measure voltage at the strip under load.
- Measure lux on a defined grid, not only at the brightest center point.
- Record minimum, average and maximum readings if the project specification requires uniformity.
- Check glare, reflections, dot visibility and color appearance with the actual merchandise or finish.
- Retain the approved sample or signed specification as the production reference.
For targets and measurement methods, use the lighting designer’s criteria and the standards applicable to the project. The IES maintains application-specific recommended-practice material; a generic blog number should not replace it.
What to put in an LED strip brightness request
- exact application: shelf, cove, cabinet, task light, sign or room ambient;
- target surface dimensions and strip-to-surface distance;
- required maintained illuminance and uniformity, if specified;
- strip length, feed points, voltage and control method;
- CCT, CRI and color-tolerance requirement;
- profile, diffuser and mounting surface;
- indoor, damp, wet or outdoor construction;
- maximum visible dotting or glare acceptable to the buyer;
- requested lm/m test condition and tolerance;
- sample-bay acceptance method and measurement grid.
If those inputs are not known, send a drawing or marked photograph through the project quotation form. A useful supplier response should identify the missing decisions before promising that a strip will be “bright enough.”
Catalog & Sourcing Note
This article is prepared from our current product catalog and B2B specification workflow. Electrical, waterproofing and installation requirements vary by model and market, so confirm the final specification and approved sample before ordering.
Discuss Your Specification