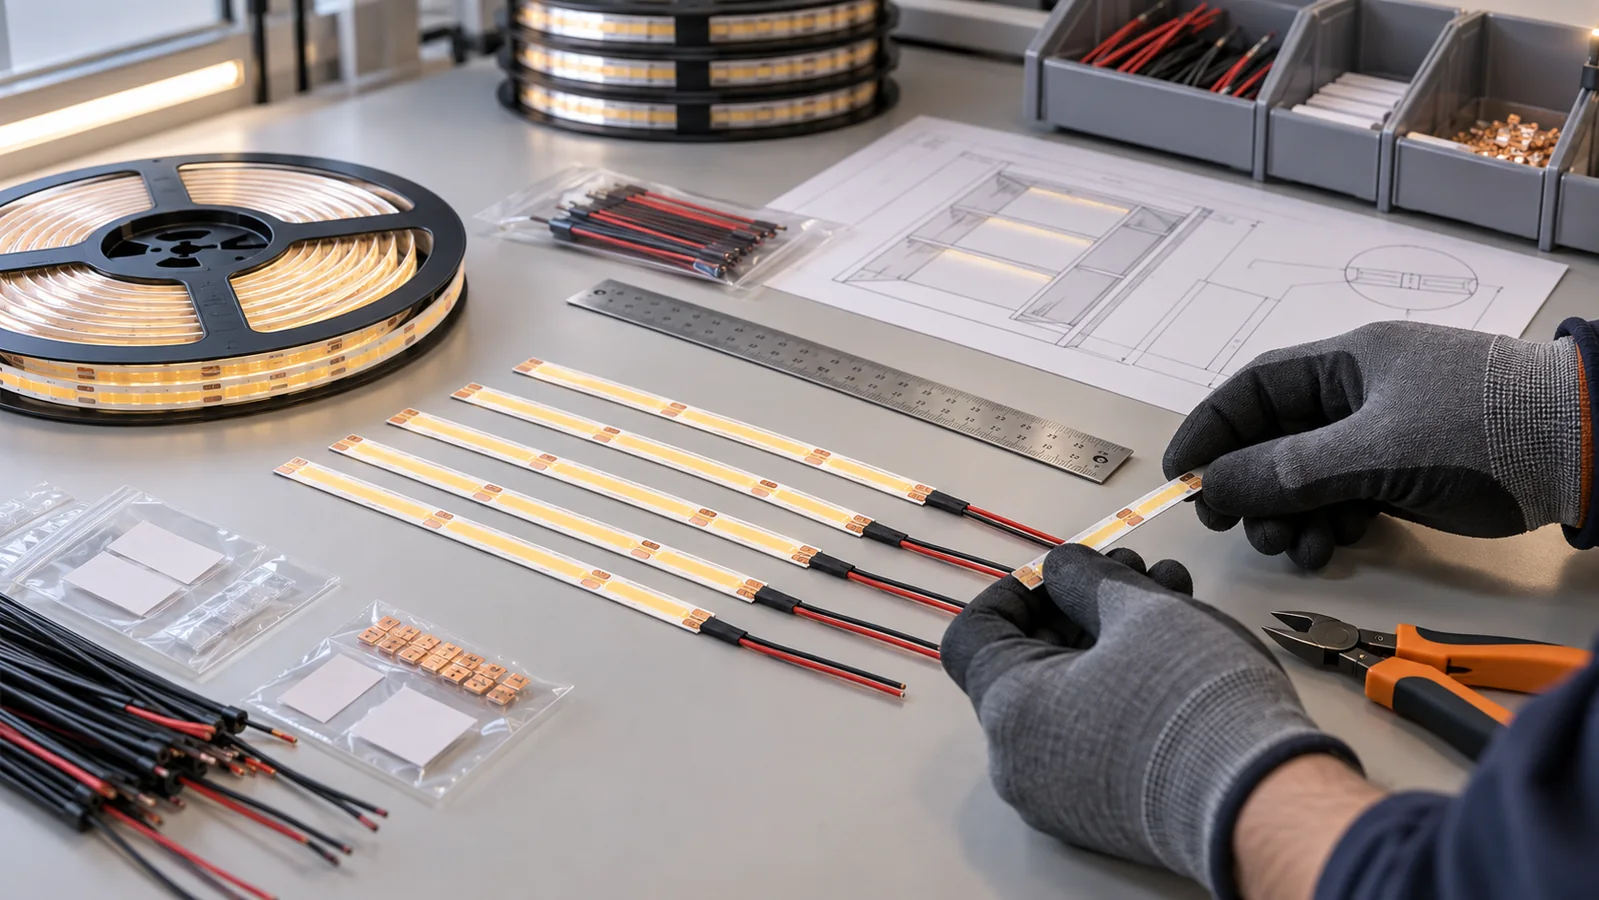
Use an assembly drawing to define the order
A usable pre-cut LED strip specification states the finished electrical length, permitted cut-point position, lead wire at each end, polarity, connector, sealing method, label and packing unit. The drawing should also say how length is measured and what happens when the requested dimension falls between two valid cut points.
Do not release production from a message such as “500 mm strip with wire.” Two suppliers can interpret that as 500 mm of illuminated PCB, 500 mm including the unlit end, or 500 mm from connector face to strip end. Approve one physical sample and one signed drawing before the bulk run.
Give every assembly a part number and revision
Start with the exact strip model. Voltage, PCB width, cut unit, power, color, protection construction and polarity layout belong on the same record. A family name such as COB strip is not enough because different models have different cut points and pad arrangements.
Assign one buyer part number to each finished variant. If the same cabinet uses 320 mm, 560 mm and 840 mm sections, list them as separate lines with their own quantities. Add a revision letter to the drawing so purchasing, production and incoming inspection are looking at the same version.
The 8mm free-cut COB model and the 8mm one-LED-cut SMD model can be reviewed when a short adjustment interval is important. Their catalog descriptions do not replace confirmation of the production cut rule for the selected order.
Separate illuminated length from overall assembly length
Show at least two dimensions on the drawing:
- strip length, measured from PCB end to PCB end;
- overall length, measured to the specified connector face or cable end.
If a sealed construction adds an end cap or unlit section, dimension that separately. A recessed channel may have enough room for the lit PCB but no room for the cable bend or connector body.
Every constant-voltage strip can only be cut at permitted electrical points. Ask the supplier to return the nearest achievable length for each requested dimension. The buyer then decides whether the result fits the extrusion, shelf or cabinet. Never ask production to cut through a circuit merely to match a drawing dimension.
Length tolerance should reflect the installation. A generous tolerance may work in an open cove; a machined shelf recess can need tighter control. The supplier must confirm what is repeatable after cutting, soldering, sealing and inspection. Do not copy a tolerance from a metal part without checking the assembly process.
Define both ends, including unused ends
For each end, specify whether it has bare pads, soldered wire, a plug, an extension connector or a sealed cap. Record wire length, conductor count, color code, insulation, exit direction and whether the length includes stripped or tinned ends. The lead-wire specification guide provides a fuller checklist.
Use a pinout drawing for multi-channel products. RGB, RGBW, tunable-white and addressable strips can have several conductors, and wire color alone is a weak acceptance rule. Mark the common conductor, channel order, data direction where applicable, and connector orientation. Ask for a continuity and function check against that pinout.
Connector part numbers should include the mating half. “Two-pin plug” does not define pitch, locking method, current path, gender or keying. If the buyer supplies the connector, send an approved sample or manufacturer drawing and state who owns compatibility testing.
Build the approval sample with production methods
The approval unit should use the planned strip batch and assembly materials. Place it in the real channel or cabinet section. Check its fit, cable bend, polarity and light appearance. Then run it with the proposed dimmer and follow the installation route to find any strain at the terminations.
Keep one signed sample with the buyer and one with the supplier. Photograph the label and both terminations, then record the sample date and drawing revision. A later change to strip model, connector, wire or sealing process requires a new review because it changes the assembly.
The header image is a production concept and does not document an LEDStripStar order or manufacturing test.
Put these fields in the request for quotation
Send the strip model, voltage, CCT or color channel, protection construction, requested PCB length, nearest acceptable cut length, overall assembly length, end-A termination, end-B termination, pinout, wire specification, connector part number, label text, packing quantity and order quantity for each size.
Also state the installation profile, driver or controller interface and inspection method. If the finished assembly needs project-specific testing or paperwork, define and agree that work before ordering. Attach the schedule and drawing to the quotation form; this gives the supplier enough information to return an achievable length and a sample plan.
Catalog & Sourcing Note
This article is prepared from our current product catalog and B2B specification workflow. Electrical, waterproofing and installation requirements vary by model and market, so confirm the final specification and approved sample before ordering.
Discuss Your Specification