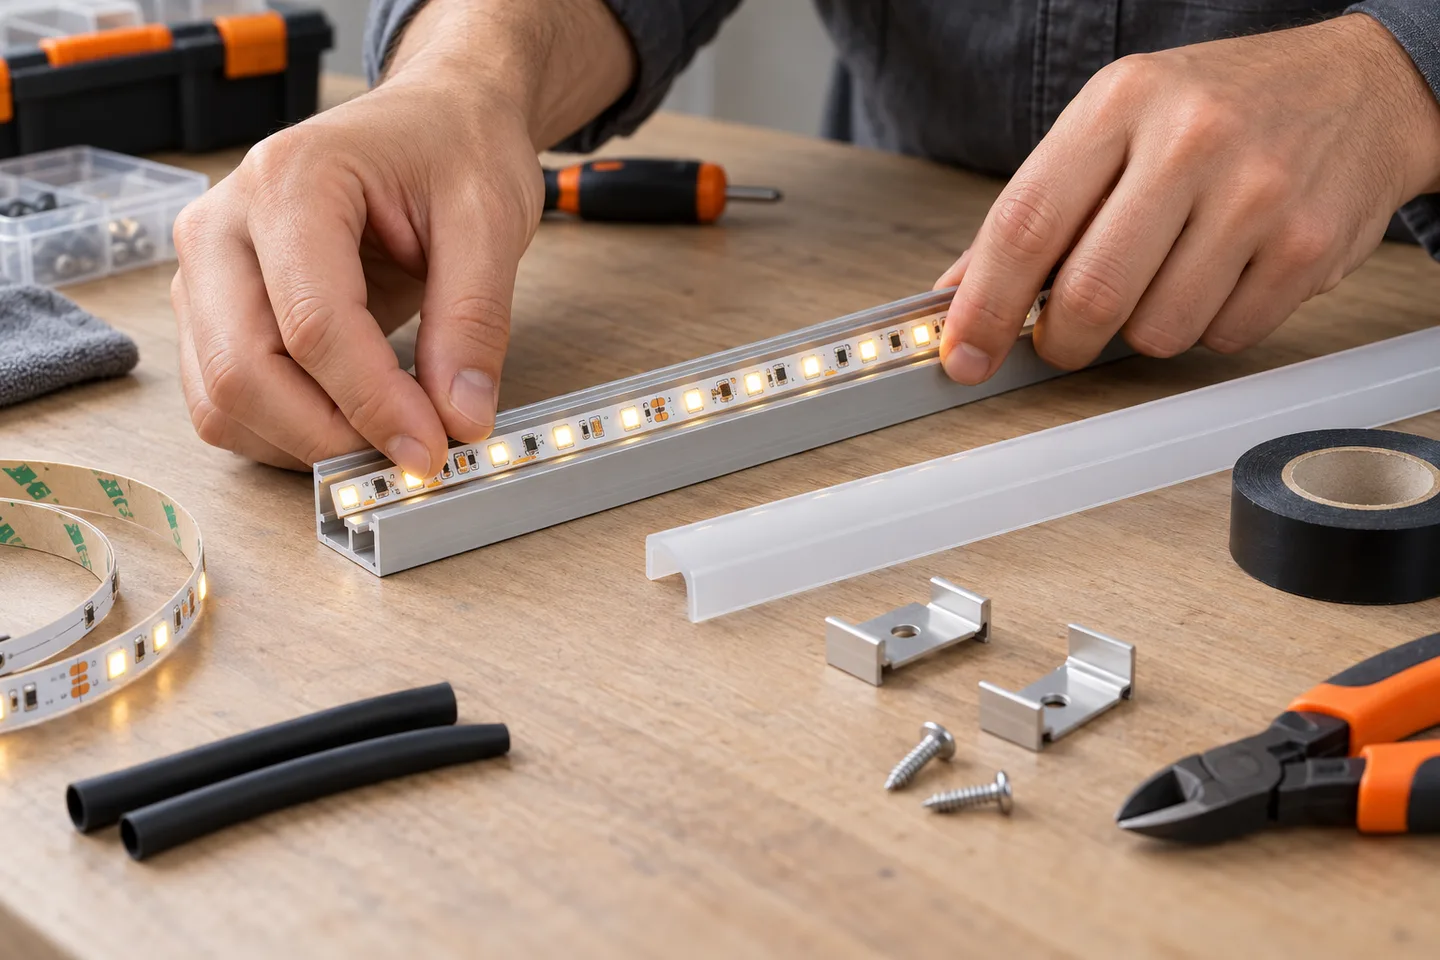
Do not tape across the light-emitting face
You should not cover LED packages, resistors or control chips with ordinary tape. It can block light, trap heat, leave residue and make inspection or repair difficult. Some adhesives also soften, discolor or release when the strip warms.
Tape may still have a limited role. The correct answer depends on whether you want to mount the strip, insulate a low-voltage joint, restrain a cable or protect against moisture. Those are four different jobs.
This article covers low-voltage DC strips. Mains-voltage strip systems require their specified connectors, end treatments and installation method. Do not improvise with household tape.
Separate four different uses of tape
1. Holding the strip to a surface
Use the adhesive backing supplied for the strip only on a clean, compatible surface and within its temperature limits. Adding crosswise pieces of tape over the emitting face is a poor permanent repair. The cross strips interrupt the light line and can lift as the installation heats and cools.
For long runs, overhead mounting, rough surfaces or warm locations, use a correctly sized aluminum profile or mechanical clips. They control the strip position without covering components. The mounting-method comparison explains where each option works.
2. Insulating a soldered joint
A suitable electrical-insulation material can protect an isolated low-voltage conductor, but a loose wrap of generic tape is not the same as a finished joint. The material must suit the voltage, operating temperature, conductor geometry and environment. It should also provide strain relief without pulling on the copper pads.
Heat-shrink tubing is often neater for an inline cable splice. A connector housing or purpose-made cover may be better at a strip joint. In all cases, inspect polarity and insulation before restoring power.
3. Stopping the cable from moving
Tape can temporarily hold a lead during a bench test. A finished installation needs strain relief that keeps cable movement away from the solder pads. A cable clip, tie mount or profile end cap is easier to inspect and more repeatable across hundreds of shelves or cabinets.
Do not place a fastener where it crushes the flexible PCB or concentrates bend stress at the first solder joint.
4. Keeping water out
Wrapping tape around a cut end does not automatically restore the strip’s original ingress construction. Water can travel along conductors, enter at an incomplete overlap or remain trapped under the wrap.
Use the end cap, sealant, connector and curing process specified for the selected strip construction. Test the finished assembly as well as the uncut reel. The waterproof-connection guide covers cut ends and cable entries in more detail.
What can go wrong when tape covers the strip
Heat has fewer paths out
LEDs produce heat even though the light feels cooler than an incandescent source. The US Department of Energy’s LED thermal-management overview explains that heat must move from the LED through the circuit board and luminaire structure. Covering components adds another material layer and may change that path.
The effect depends on strip power, tape material, covered area, profile and ambient temperature. That is why a small bench sample should run long enough to reach a stable temperature before the mounting method is accepted.
The light line changes
Opaque tape creates dark bands. Clear tape can still alter diffusion, gloss and color appearance, especially as the adhesive ages. On COB strip, even a small overlap can remain visible through a shallow diffuser.
Repairs become harder
Tape adhesive attracts dust and can spread across pads when removed. Pulling it from a flexible PCB may lift a solder mask edge, component or copper pad. If the strip is likely to be serviced, choose a profile and diffuser that open without touching the board.
The tape may not bond to the surface
Paint additives, powder coating, silicone, plasticizers, oil and cleaning residue all affect adhesion. High humidity and repeated temperature change add stress. More tape does not correct an incompatible surface.
Use a method designed for the actual job
| Job | Preferred starting method | What to verify |
|---|---|---|
| Mount strip on a smooth dry shelf | Supplied backing or selected mounting tape | Surface compatibility, temperature and peel load |
| Mount a long or overhead run | Aluminum profile with mechanical fixing | Profile width, screw spacing and service access |
| Restrain a lead | Cable clip or anchored tie point | No pull on strip pads and acceptable bend radius |
| Protect an inline low-voltage splice | Rated heat-shrink or purpose-made enclosure | Insulation, strain relief and temperature |
| Protect a cut wet-area end | Matched end cap and sealant process | Full cure, cable entry and completed-assembly test |
| Hide visible LED points | Profile diffuser or sufficient optical setback | Brightness loss, uniformity and viewing angle |
An aluminum profile is not a universal heat sink. Its section, contact with the strip and surrounding airflow determine how much it helps. Check the profile-selection guide against the PCB width and installed space.
Run a small adhesion and temperature check
Adhesion depends on contact with the substrate. 3M’s surface-preparation guidance calls for a clean, dry surface, firm application pressure and time for the bond to build. Those principles are useful, but they do not mean every 3M tape or every adhesive is suitable for an LED strip.
Test the exact production materials:
- Clean the actual shelf or profile with the approved process.
- Apply a short production-intent strip using the proposed pressure and dwell time.
- Route the cable exactly as it will be installed.
- Operate at the highest planned output until temperature stabilizes.
- Repeat the expected on/off cycle and inspect edge lift, movement and residue.
- Check again after exposure to the project’s humidity and cleaning routine.
If the strip lifts, diagnose the surface, cable pull, bend radius and temperature. Do not simply add tape across the front.
Specify mounting and protection in the purchase file
For a repeat order, record more than a generic note about adhesive backing. Include:
- strip model, PCB width, watts per meter and protection construction;
- backing material and supplier reference when required;
- shelf or profile material and surface finish;
- mounting direction, bend radius and cable exit;
- expected ambient temperature and cleaning chemicals;
- profile, diffuser, clip and end-cap dimensions;
- joint insulation and strain-relief method;
- wet-area sealing materials and curing instructions;
- sample-test method and acceptance photographs.
The best mounting detail is the one your installer can repeat without covering the light source or inventing a repair on site.
Catalog & Sourcing Note
This article is prepared from our current product catalog and B2B specification workflow. Electrical, waterproofing and installation requirements vary by model and market, so confirm the final specification and approved sample before ordering.
Discuss Your Specification