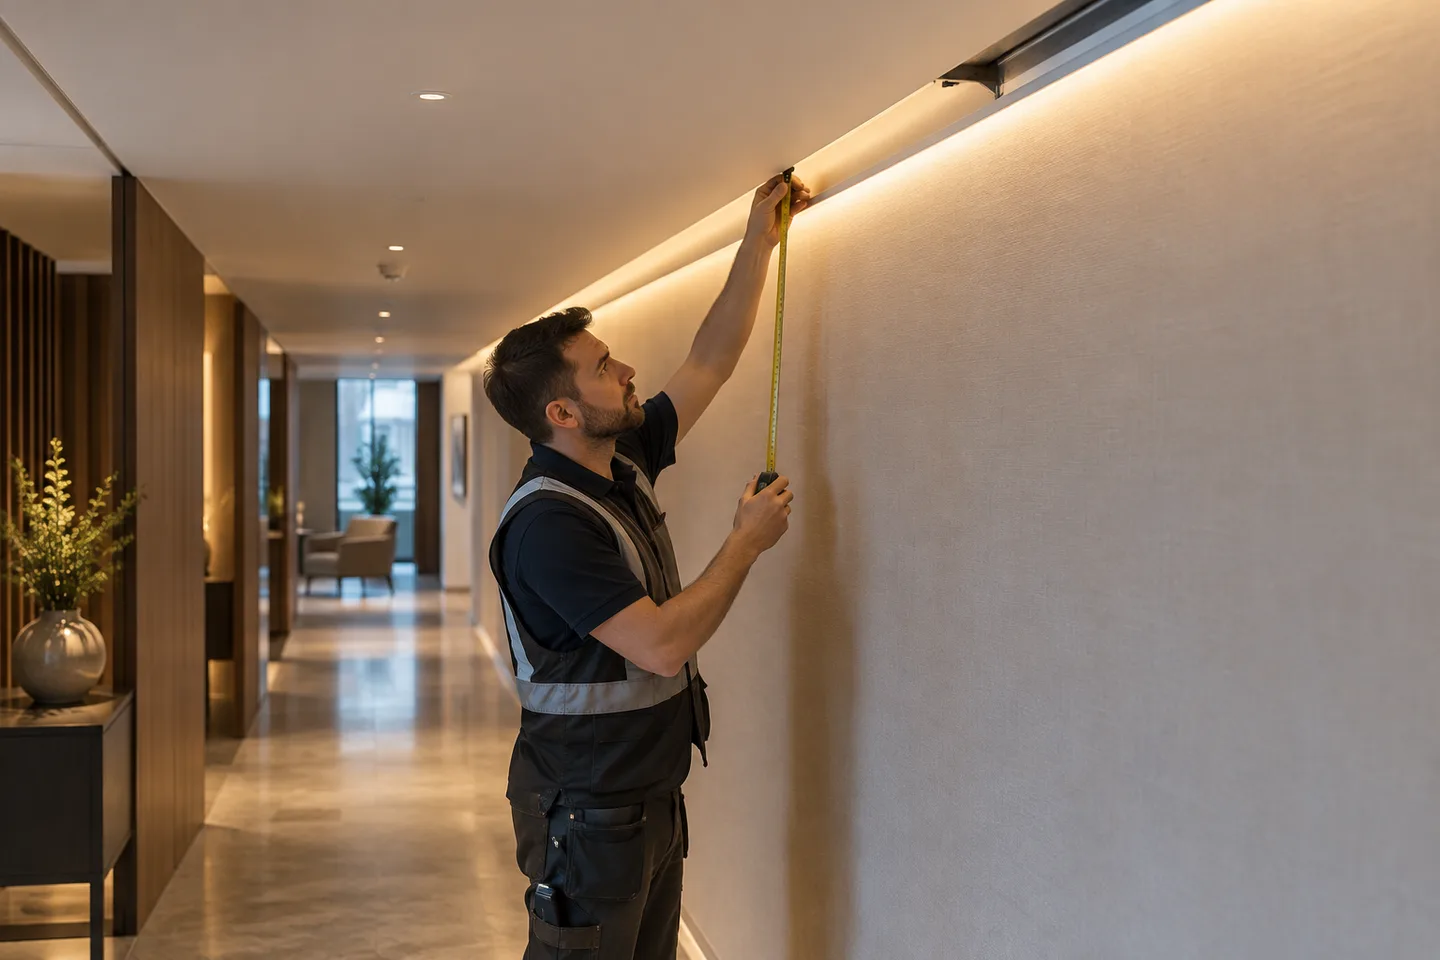
Hide the source from the normal sightline, not deep inside a blind pocket
The reliable way to hide LED strip lights is to place the strip behind a lip or inside a recessed aluminum profile, then aim the light at a nearby surface or through a diffuser. The viewer should see the illuminated surface, not the individual LEDs.
More concealment is not always better. If the strip sits too deep, the lip cuts off useful light and creates a hard shadow. If it sits too close to the opening, customers see bright dots or glare. A short full-size mock-up is the fastest way to find the workable setback.
Plan the driver, controller and connectors at the same time. A perfect light line is a poor installation if the service team must break a ceiling to reach its power equipment.
Choose the hiding method from the surface you want to light
Ceiling cove
Place the strip where it can wash the ceiling or upper wall without being visible from entrances, stairs or seated positions. A higher-output strip may be needed when the reflecting surface is dark, textured or far away. Do not select power from the cove length alone; the finish and geometry decide how much light returns to the room.
Under a shelf or cabinet
Use the front lip to block the source from a standing or seated viewer. Set the strip toward the front when the task is to light a worktop. Move it back when the aim is a softer background glow, but check that the user’s body does not cast a strong shadow over the work area.
Recessed profile
A flush or recessed aluminum profile gives the cleanest architectural edge when the joinery has enough depth. The profile needs a continuous, straight slot. Leave room for the end cap, cable exit and diffuser removal; those parts are often wider or longer than the visible profile opening.
Vertical display edge
For cabinets and niches, a vertical strip near the front can light several shelves more evenly than a single strip at the top. Shield it from the customer’s direct view and test reflections in glass, polished stone and glossy packaging.
Shadow gap
A strip can sit behind a small architectural reveal and throw light across the adjacent surface. This detail is sensitive to construction tolerance. A few millimeters of variation in the lip or wall can show as an uneven line, so define the critical dimensions on the shop drawing.
Set the lip and setback from real viewing positions
Draw a simple section through the detail. Add sightlines from the shortest and tallest expected viewers, plus seated positions where relevant. Entrances and stair landings often reveal a strip that looks hidden from the center of the room.
Check four dimensions on the mock-up:
| Dimension | If too small | If too large |
|---|---|---|
| Lip height | LEDs remain visible | Light is cut off and a hard edge appears |
| Setback from opening | Dots and glare are easier to see | Output at the target surface falls |
| Distance to reflecting surface | Hot spots form | More strip output may be needed |
| Profile-to-finish tolerance | Gaps and waviness show | Installation becomes hard to assemble |
Glare depends on source luminance, size, position and the surrounding field. The CIE report on non-uniform LED source glare notes that conventional glare calculations can underestimate discomfort from sources with strong luminance contrasts. In a small cove or shelf, the practical response is direct: keep the bright LED surface out of the normal view and judge the mock-up from the real approach angles.
Do not rely on a photograph alone. Phone cameras change exposure and can make a smooth line appear dotted, or hide an objectionable bright edge. Inspect with the room at its intended ambient-light level.
Use the profile and diffuser as one optical and thermal detail
An aluminum profile helps keep the strip straight, provides a mounting surface and offers a path for heat to leave the flexible PCB. The diffuser mixes the light, but it also reduces output. A deeper profile usually gives the light more distance to blend before it reaches the lens.
The US Department of Energy’s LED thermal-management overview explains that LED heat must move through the circuit board and luminaire structure. That is why hiding a high-power strip inside an unventilated timber slot or behind loose insulation needs a thermal check, even when the visible light looks fine.
Match these items before ordering:
- bare PCB or silicone-body width;
- profile internal width and end-cap clearance;
- LED pitch and distance to the diffuser;
- diffuser transmission and finish;
- strip power per meter and mounting surface;
- cable exit direction and minimum bend space.
COB strip can reduce the appearance of individual points in shallow details, but it does not remove the need for a suitable lens, depth and viewing-angle test. The diffusion guide gives a sample-based comparison method.
Prevent dark ends, bright joints and visible cable shadows
The last 20 or 30 millimeters of a profile often look different because of the end cap, connector or an unlit lead section. Measure the actual illuminated length as well as the cut profile.
For a continuous line around a corner, decide whether the priority is an unbroken visual line or a serviceable joint. A factory-prepared short lead between two sections may fit a corner more cleanly than folding the PCB. Never crease a strip across components or bend it against its stated direction.
Keep connectors outside the visible mixing zone where possible. A bulky clip close to the diffuser can cast a shadow. Soldered leads may be smaller, but they still need insulation and strain relief. Compare the options in the connector selection guide.
Voltage drop can also imitate an optical problem. If the far end is dimmer or shifts color, measure the input and far-end voltage under load before changing the diffuser. Longer runs may need shorter branches or planned power injection. Use the LED strip voltage-drop calculation guide during layout.
Build one meter before cutting every cove
A useful mock-up includes the real wall or joinery finish, actual profile and diffuser, intended strip, cable exit, connector and driver-control combination. One meter is often enough for a straight detail; corners and joints need their own sample.
View the mock-up from the positions customers will use. Then check:
- Can any LED or bright diffuser edge be seen?
- Is the reflected band smooth from near and far positions?
- Does the lip produce a hard shadow at the target surface?
- Are glass or polished finishes showing distracting reflections?
- Does the strip remain straight after warming up?
- Can a technician remove the diffuser and reach the cable without damaging the finish?
- Does dimming remain stable at the lowest intended setting?
Photograph the accepted geometry with a ruler in frame and record the critical dimensions. That reference is more useful to installers than a description such as “concealed behind lip.”
What to put in a concealed-lighting request
Send the supplier and installer the same information:
- section drawing with lip, setback and reflecting distance;
- normal viewing directions and eye-height range;
- wall, ceiling, glass or merchandise finish samples;
- illuminated length and electrical branch length;
- target color temperature, color quality and dimming method;
- maximum profile width and depth;
- acceptable visible-dot and dark-end condition;
- driver and controller service location;
- required lead direction, connector style and spare sections;
- mock-up review method before bulk production.
For narrow details, the 3mm COB strip is one catalog candidate. For a wider high-color-quality detail, compare the 8mm CRI95 COB strip. Confirm the selected construction, profile and sample as a complete system. You can attach the section drawing through the project quote form.
Catalog & Sourcing Note
This article is prepared from our current product catalog and B2B specification workflow. Electrical, waterproofing and installation requirements vary by model and market, so confirm the final specification and approved sample before ordering.
Discuss Your Specification