The short answer
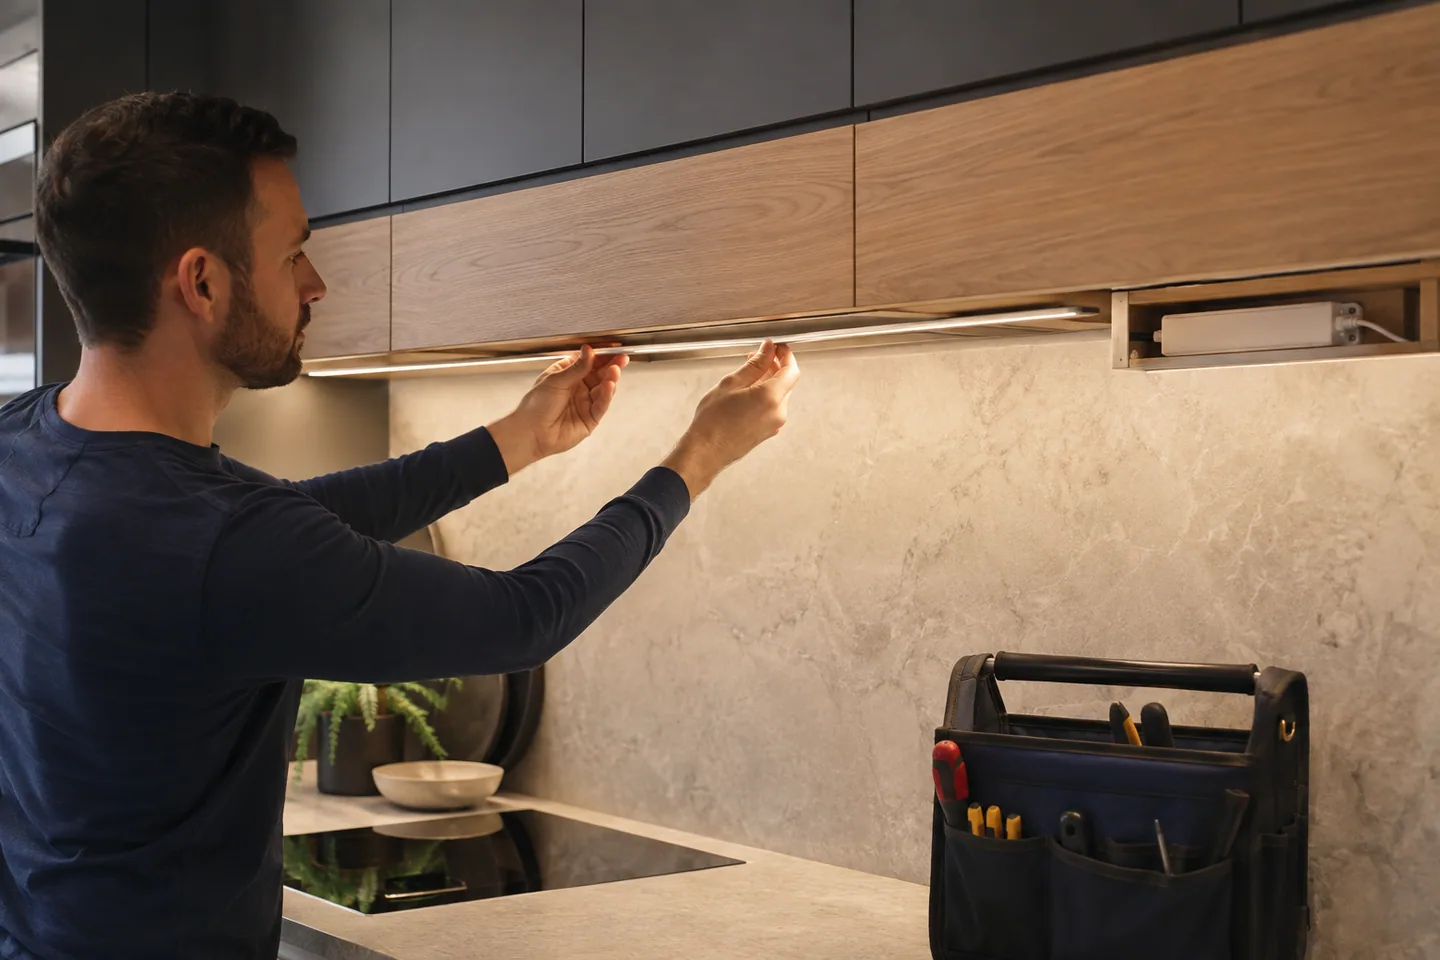
For a durable under-cabinet installation, mock up the light position first, mount the LED strip in a compatible aluminum profile, route low-voltage wiring before fixing the strip, and keep the driver accessible. Install the profile near the cabinet front for stronger task light and fewer backsplash reflections, or farther back when concealment matters more. Test the actual countertop, profile and diffuser before repeating the detail across the project.
Do not stick a full reel directly to the cabinet and decide the wiring afterward. Most visible defects—reflections, dark joints, voltage drop, hanging cable and inaccessible drivers—come from layout decisions made too late.
Choose the position by looking at the work surface
Under-cabinet light can serve task lighting, decorative lighting or both. The mounting position changes the result.
| Position | Likely result | Watch for |
|---|---|---|
| Near the cabinet front | More light reaches the front work area; source is better hidden from standing viewers | Glare for seated viewers and visible profile ends |
| Near the back/backsplash | Easier cable concealment and a strong wall wash | Reflections on glossy splashbacks and shadows from objects |
| Centered | Compromise between task coverage and concealment | May still reveal dots on polished stone |
| 45° corner profile | Directs light toward the work surface | Profile depth, sight lines and corner hardware |
Use painter’s tape or temporary clips to hold a powered sample in two or three positions. View it while standing and seated. Put common objects on the counter and check hand shadows. A glossy stone counter or glass backsplash can reveal the LED image even when the source itself is hidden.
LEDVANCE’s under-cabinet overview also recommends mapping the layout and power source before mounting. Treat that as a starting principle; the final position still needs a project mock-up.
Select the strip and profile as one assembly
Start with the required light, not LED density alone:
- target brightness on the work surface;
- CCT and CRI appropriate to food, finishes or merchandise;
- acceptable dot visibility and diffuser loss;
- cabinet bay lengths and required cutting interval;
- dimming range and control method;
- ambient heat near cooktops or appliances;
- dry or damp cleaning exposure.
A COB strip can produce a smooth line in a shallow detail. A high-density SMD strip behind a deeper diffuser can also work and may offer a different output or efficiency choice. Compare samples in the proposed channel instead of judging bare strips on a desk.
The aluminum profile must accept the PCB width plus solder joints or connector entry. It also provides a consistent mounting surface, mechanical protection and a heat path. The profile selection guide covers internal width, diffuser depth and mounting style.
Do not assume the backing tape brand guarantees the installation. Adhesion depends on the cabinet finish, contamination, pressure, temperature and time. 3M’s surface-preparation guidance says bonding surfaces should be stable, clean and dry and explains why firm application pressure matters. Painted wood, laminates and low-surface-energy plastics may need different preparation, so test the actual substrate.
Plan the power supply, feeds and controls
Draw each cabinet bay and decide where wires cross gaps, appliances and cabinet sides. Do not bridge a cooker hood or moving cabinet joint with unsupported strip.
For low-voltage strip:
- Confirm strip and driver voltage match.
- Calculate watts from the installed length and the selected model’s watts per meter.
- Size the driver with appropriate margin based on its instructions and operating environment.
- Calculate cable voltage drop from current, conductor size and one-way distance.
- Feed longer groups in parallel where required instead of daisy-chaining every cabinet.
- Put dimmers and controllers where they remain accessible and ventilated.
The power and voltage-drop guide shows the calculation workflow. The MEAN WELL LED power-supply installation manual instructs installers to disconnect utility power before work, maintain ventilation and follow model-specific mounting and derating information.
Mains input connections and concealed fixed wiring belong to a qualified electrician under local rules. Keep the AC side separate from low-voltage strip leads and do not hide a ventilated metal-case supply inside an unventilated void.
For commercial kitchens, retail counters or hotel joinery, label the driver and every output branch. Future maintenance should not require dismantling an unrelated cabinet.
Install under-cabinet LED strip step by step
1. Dry-fit everything
Cut the profile and diffuser, fit end caps, and confirm cable-entry holes before handling the strip. Deburr metal edges so they cannot damage insulation.
2. Prepare the mounting surface
Remove dust, oil and loose finish using a method compatible with the cabinet material. Let it dry. If the profile uses screws, drill controlled pilot holes and check screw length against the cabinet panel.
3. Route and test wiring
Pull low-voltage cables, identify polarity or channel order, and verify continuity. Leave service slack without creating visible loops. Protect cables at drilled edges.
4. Cut the strip at the marked point
Measure each bay against the valid cutting interval. Disconnect power and cut squarely at the designated line. The detailed cutting guide explains why the physical opening and illuminated length may differ.
5. Assemble strip and profile
Clean the inside of the profile. Peel the liner progressively rather than exposing the whole strip at once. Lay the strip without twisting, press it evenly, and avoid pushing directly on LED packages. Add the specified connector or soldered lead with strain relief.
6. Fix the profile
Use its clips, screws or approved mounting method. Keep joints aligned and place dark gaps where they are least visible. Fit the diffuser only after the electrical test so corrections remain accessible.
7. Test, then close
Check every bay at full output and the required dim levels. Only then fit diffusers, close cable covers and complete the cabinet.
Commission from the longest branch, not the easiest one
Test the most demanding branch first: the longest cable, greatest strip load or warmest enclosure. Compare its near and far ends for visible brightness or color difference. Measure voltage where the project has an agreed limit.
Run the complete assembly long enough to stabilize, following the product and driver instructions. Check that profiles, connectors, cables and drivers remain within their stated conditions. A short open-air test does not represent a closed cabinet detail.
Then inspect:
- continuous light with no dark pads or diffuser gaps;
- acceptable reflection on the actual countertop and backsplash;
- stable dimming with no flicker at the required settings;
- consistent CCT between adjacent cabinet bays;
- secure mounting and cable strain relief;
- accessible driver, controller and connection points;
- labels that match the drawing and spare-parts list.
Photograph one approved bay and retain the component list. For multi-store or hotel rollouts, this reference reduces site-to-site variation.
Under-cabinet project RFQ checklist
- cabinet drawings and bay dimensions;
- countertop and backsplash materials;
- preferred mounting position and profile type;
- required brightness or approved visual target;
- voltage, CCT, CRI and dimming method;
- cutting interval and factory-cut assembly needs;
- cable entry direction, lead length and connector preference;
- driver location, branch length and cable distance;
- cleaning, heat and moisture exposure;
- sample quantity and mock-up approval process;
- packaging labels by cabinet or room ID.
Review the cabinet lighting application page, then attach the cabinet schedule to the quotation request. That produces a more useful proposal than asking for “warm-white strip for a kitchen” without dimensions or system details.
Catalog & Sourcing Note
This article is prepared from our current product catalog and B2B specification workflow. Electrical, waterproofing and installation requirements vary by model and market, so confirm the final specification and approved sample before ordering.
Discuss Your Specification