The short answer
You cannot identify a high-quality LED strip from brightness in a ten-second video. A reliable strip is one that matches an agreed specification, performs consistently across the reel and batch, survives the intended installation conditions, and can be produced again without unapproved changes.
Start with a numbered sample and a written model specification. Then evaluate these 12 areas:
- model identity and traceability;
- dimensions and component layout;
- PCB and copper construction;
- power per meter;
- light output and efficacy;
- CCT and color rendering;
- color consistency along and between reels;
- voltage drop over the proposed run;
- operating temperature in the real profile;
- solder joints, connectors and cut points;
- adhesive or mounting system;
- batch repeatability and change control.
Not every project needs the highest value in every category. A retail display may prioritize color quality and consistency; a concealed service corridor may prioritize long-run stability and easy replacement. Define “quality” from the application rather than from marketing words.
Checks 1–3: verify what the strip is
1. Model identity and traceability
The sample label, data sheet, quotation and test record should identify the same model and selected options. Record voltage, LED density, PCB width, CCT/color, CRI, watts per meter, cut interval, reel length and environmental construction.
Give the approved sample a reference number and photograph both sides, the label, input lead and cut point. For production, agree how the reel, carton and lot will be identified. Without traceability, a passing sample cannot be reliably compared with a later shipment.
2. Dimensions and component layout
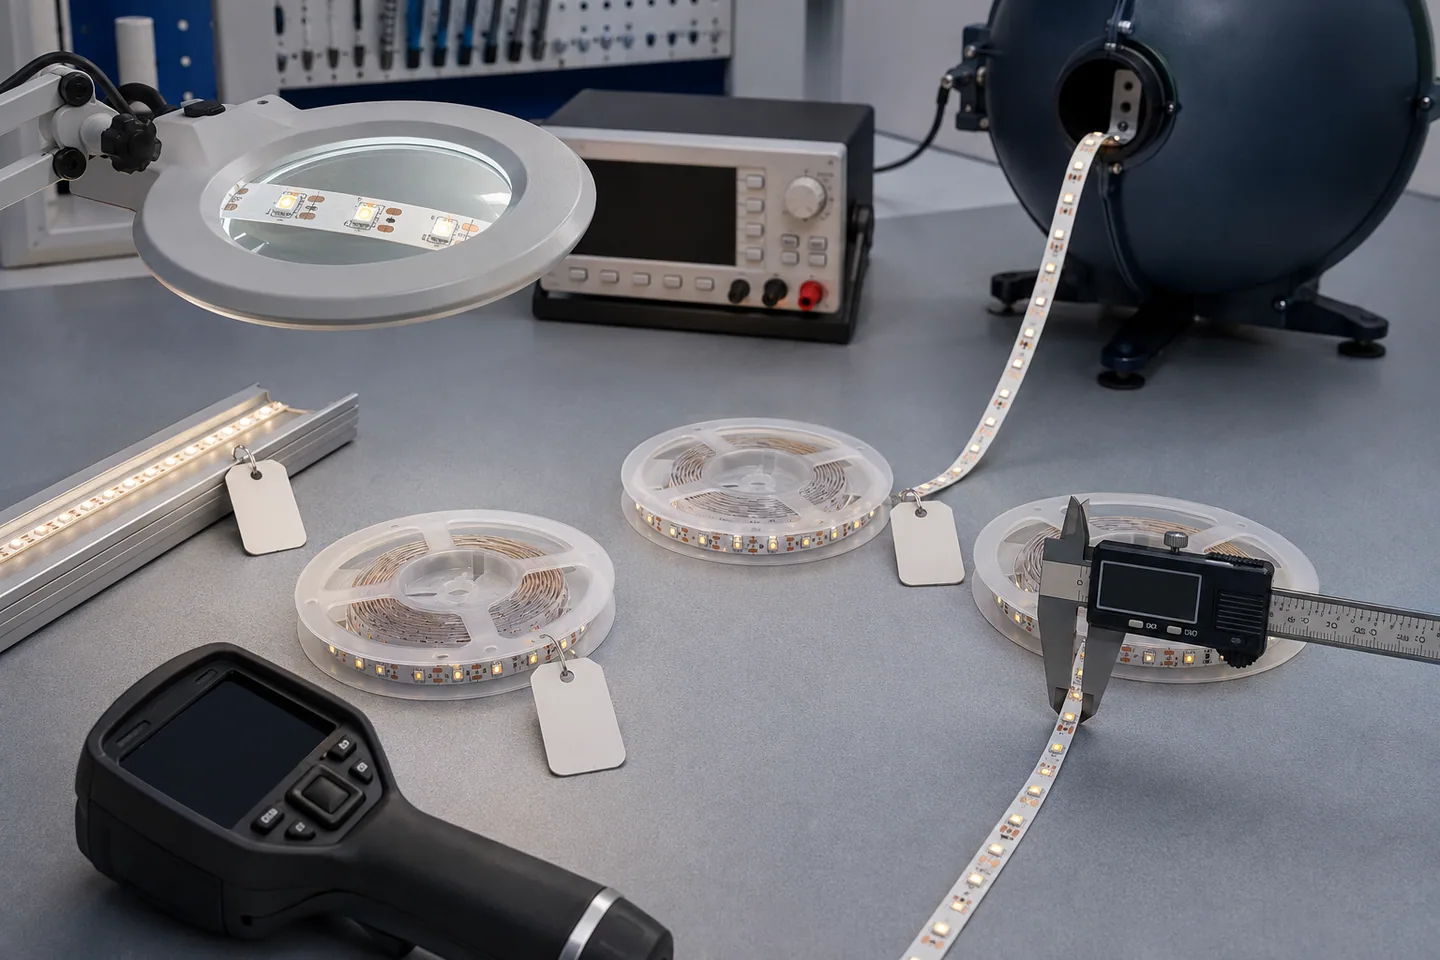
Use a caliper and magnifier to check PCB width, tape thickness where relevant, LED spacing, component alignment and pad geometry. Compare several positions rather than measuring only the first 100mm.
Look for:
- LEDs and resistors centered on their pads;
- no lifted, tilted, cracked or contaminated components;
- clean cut markings with usable copper on both sides;
- consistent PCB width that fits the specified profile and connector;
- no sharp solder points that can damage coating or liner;
- lead wires and joints supported against pulling.
3. PCB and copper construction
PCB color and apparent thickness do not prove copper weight. If copper construction matters, put the agreed value and verification method in the purchase specification. A supplier statement, cross-section measurement and independent material check provide different levels of evidence; decide what the order risk justifies.
Also inspect track width, pad area and the transition into lead wires. Heavy copper cannot compensate for an undersized connector or a poor solder joint.
Checks 4–8: measure electrical and light performance
4. Power per meter
Condition the sample as agreed, use the correct supply voltage and measure a defined length after it reaches a stable state. Record input voltage at the strip, current, total power, sample length and ambient condition.
Power that is much lower than quoted may explain low output. Power that is higher is not automatically better; it can raise temperature, voltage drop and driver size. Compare the measured result with an agreed tolerance rather than rounding it to the nearest catalog value.
5. Light output and efficacy
Measure luminous flux using a suitable photometric method and the exact sample configuration. Record whether the test covers bare tape, a profile and diffuser, or another assembly. Diffusers and optics change delivered output.
Calculate:
efficacy (lm/W) = measured luminous flux ÷ measured electrical power
Use the same conditioning time, voltage and assembly when comparing samples. The lumen-verification guide explains integrating-sphere questions and report matching in more detail.
The U.S. Department of Energy’s metrics and test-method overview explains why clear measurement methods matter for comparable solid-state lighting performance. A component-level result should not be presented as a complete installed-system result.
6. CCT and color rendering
Measure CCT, chromaticity and the color metric specified for the project. CRI is useful but does not describe every aspect of color rendition. For demanding retail or hospitality work, review spectral or TM-30 information when available and judge an installed mock-up with the actual finishes.
DOE’s LED basics guide notes that CCT describes color appearance while color fidelity describes how the light affects objects; higher color fidelity can involve efficiency and cost tradeoffs.
7. Color consistency
Lay samples from the start, middle and end of a reel side by side in the same profile and diffuser. Repeat across several reels. View them at full output and at relevant dimmed levels.
Record chromaticity or SDCM/binning requirements where visible matching matters. Do not accept “same CCT” as proof that two batches will look identical. Use the SDCM and binning guide to define a batch-control plan.
8. Voltage drop and run uniformity
Build the longest proposed branch with production-size cable and connectors. Measure voltage and light behavior at the feed and far end under the worst intended operating state.
A short sample cannot validate a 10m or 20m run. If the end dims or shifts color, review feed location, conductor size, PCB losses and injection points with the voltage-drop calculation.
Checks 9–11: test the installed construction
9. Temperature in the intended profile
Mount the strip as it will be used, including profile, diffuser, enclosure and nearby materials. Operate it until readings stabilize, then measure at defined points with a documented instrument and method.
Compare results with component and material limits supplied for the exact configuration. Do not copy a universal “safe strip temperature” from another product. If a sample runs hot, first verify input voltage, actual power, mounting contact and ventilation.
10. Joints, connectors and cut points
Inspect factory leads and field connectors under magnification. Check polarity, pad alignment, solder wetting, insulation, strain relief and fit inside the profile. Test representative connections at the maximum branch current.
Cut several marked points and reconnect them using the proposed production method. A strip with excellent LEDs can still become unreliable when its pad geometry does not fit the selected connector.
11. Adhesive and mounting system
Check the backing material and adhesive identity agreed for the order, but evaluate the complete surface preparation and mounting method. Clean representative substrate, apply the tape with controlled pressure and allow the specified dwell time before a peel or handling test.
Paint, powder coat, raw wood, stone and textured metal behave differently. In warm or overhead installations, profiles and clips may be needed even when adhesive is present. The adhesion troubleshooting guide lists installation variables to control.
Check 12: test production repeatability
Compare several units
One hand-selected reel can hide production variation. For an important order, test multiple samples from a defined trial lot and compare power, output, CCT, dimensions and visible workmanship.
Define accelerated or endurance tests carefully
Burn-in, switching, bend, thermal and environmental tests need written conditions and pass/fail rules. A test lasting a few hours may reveal early assembly faults, but it cannot by itself prove a multi-year lifetime.
IES explains that LED package lumen-maintenance data and projection methods do not cover every failure mechanism in a complete lighting product. Its position on LED product lifetime prediction is a useful warning against turning component data into an unsupported complete-product lifetime claim.
Control substitutions
Agree which parts and materials cannot change without buyer approval: LED package/bin, resistor layout, PCB, adhesive, wire, connector, coating or silicone, for example. Require a revised sample when a change affects performance or fit.
A practical 100-point sample scorecard
Adjust the weights before testing, not after seeing the result.
| Area | Suggested weight | Example evidence |
|---|---|---|
| Specification match and traceability | 15 | Model-matched sheet, labels, lot record |
| Electrical performance | 15 | Voltage, current, W/m, loaded stability |
| Light output and efficacy | 15 | Model-matched photometric result |
| CCT, rendition and consistency | 15 | Measured color data and reel comparison |
| Run-length uniformity | 10 | Start/end voltage and visual result |
| Temperature in intended assembly | 10 | Stabilized readings and setup record |
| Workmanship and connections | 10 | Magnified inspection and loaded joint test |
| Mounting/environmental construction | 5 | Substrate or joint test |
| Repeatability and change control | 5 | Multi-reel results and approved BOM record |
Set critical failures separately. Reversed polarity, unsafe insulation, the wrong voltage or a result outside a mandatory project limit should not pass because other scores are high.
Turn the quality review into a purchase specification
Attach these items to the order:
- approved model and option table;
- signed or numbered reference sample;
- measurement methods, conditioning and tolerances;
- PCB, lead, connector and cut-point drawing;
- reel and carton labeling requirements;
- approved profile/diffuser or mounting method;
- lot sampling and shipment-inspection plan;
- change-notification and re-approval rule;
- defect categories and remedy process;
- photo and test records required before shipment.
The catalog’s SMD2835 8mm 120 LED/m CRI98 model and COB 8mm 320 LED/m CRI95 model list different constructions and performance fields. Do not assume a test on one validates the other. Send the target model, application and acceptance limits in the quotation form, then approve the exact proposed sample before bulk production.
Catalog & Sourcing Note
This article is prepared from our current product catalog and B2B specification workflow. Electrical, waterproofing and installation requirements vary by model and market, so confirm the final specification and approved sample before ordering.
Discuss Your Specification