How to plan an LED strip sample kit
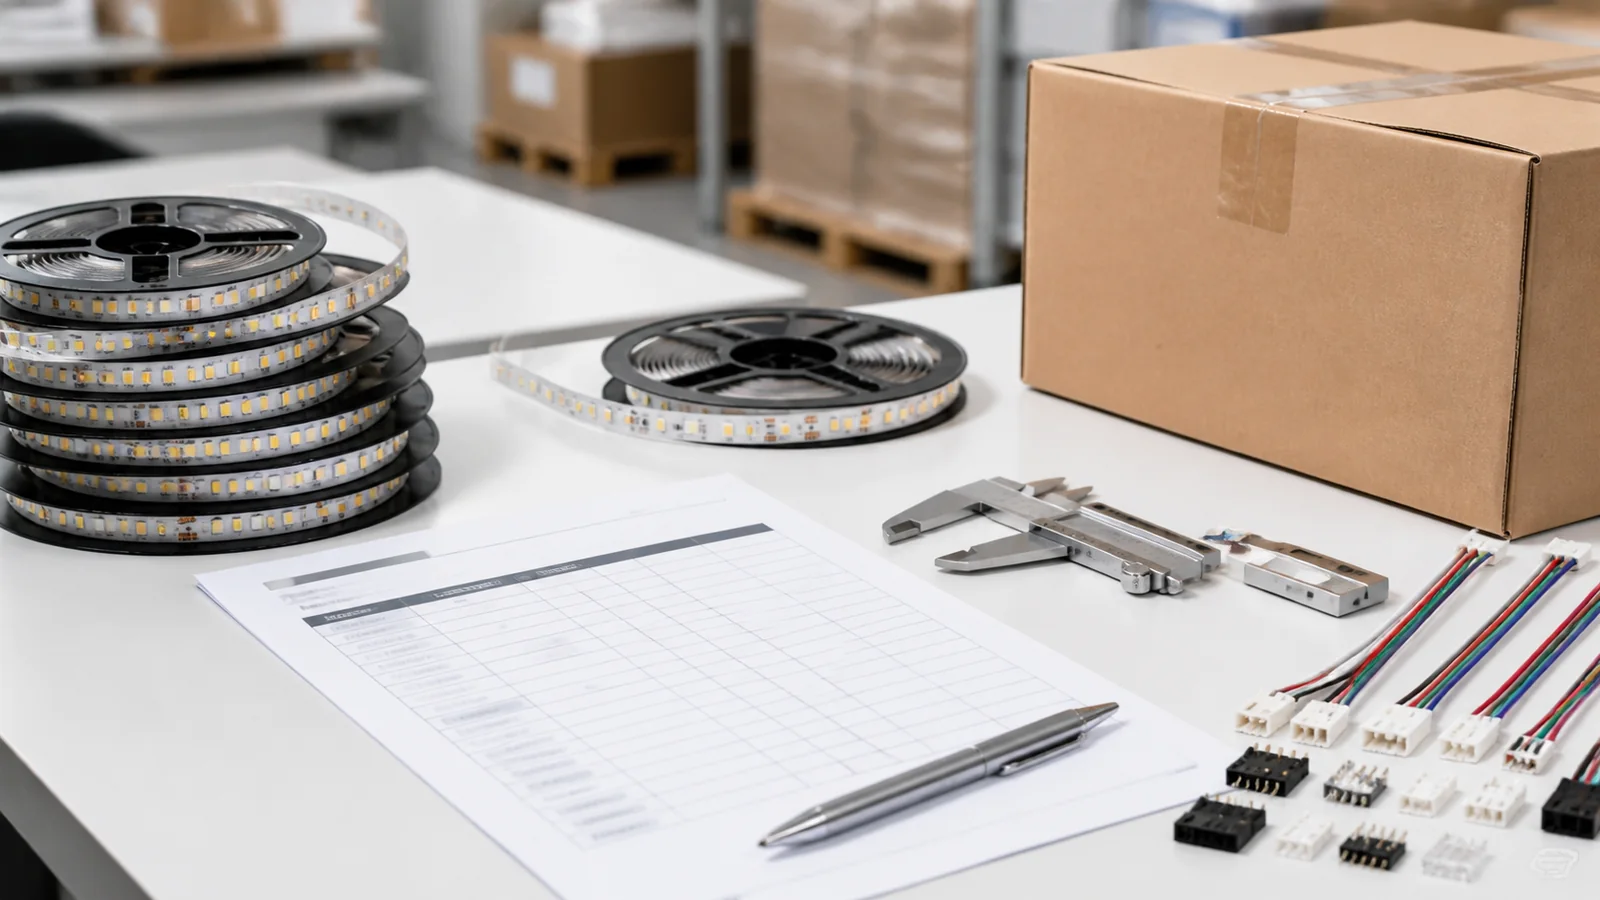
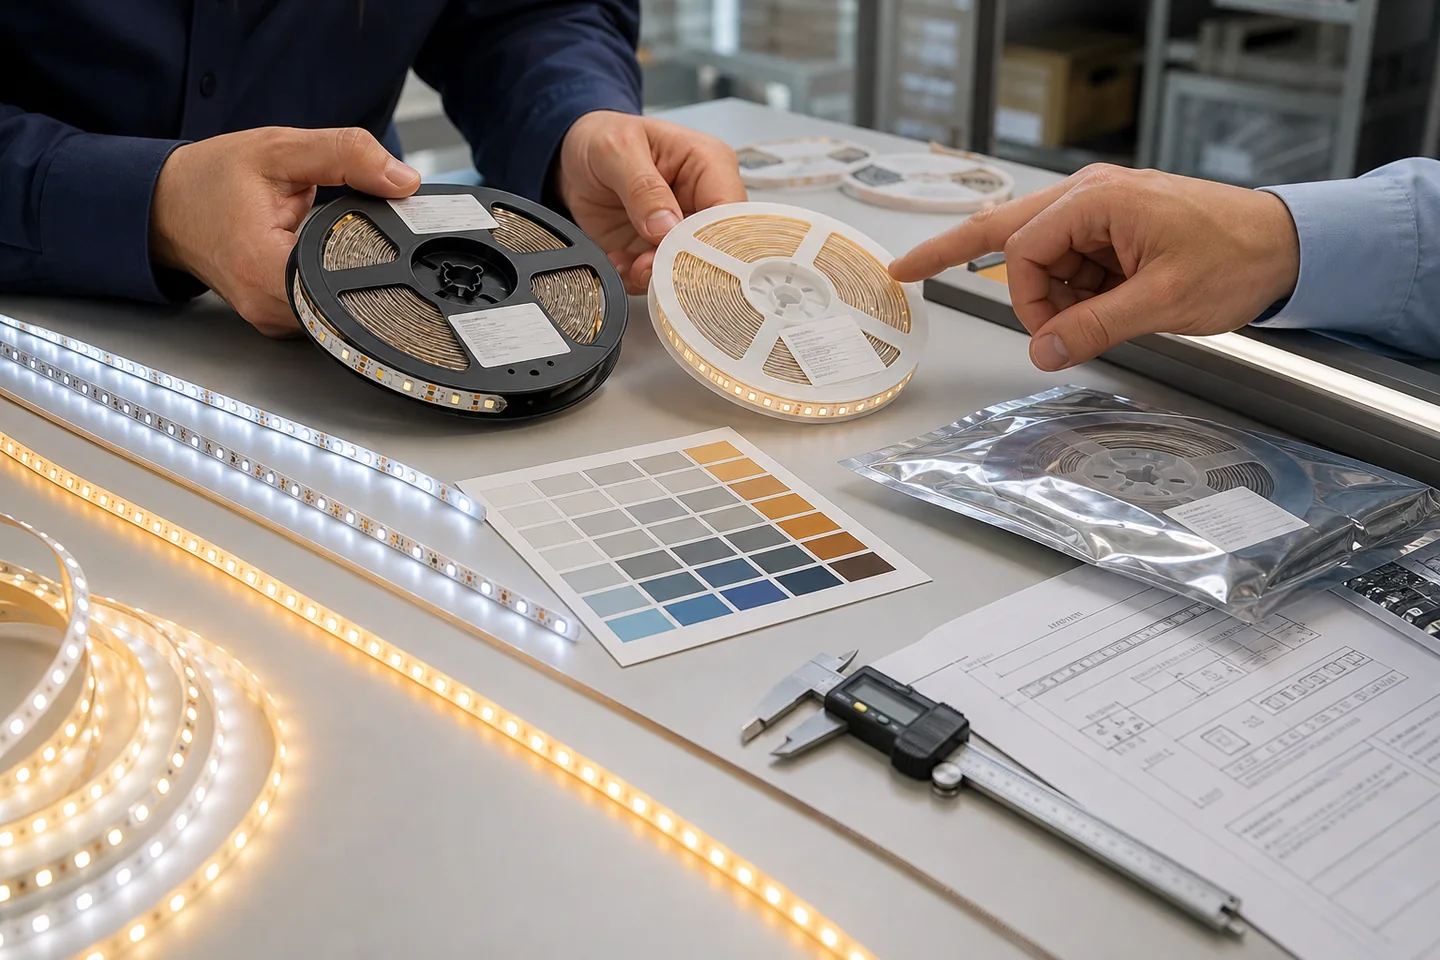
Build the kit around the decisions your customers need to make: whether a strip fits their joinery, how the light looks through a diffuser, which white tone suits a finish, and whether the proposed controls behave as expected. Give each assembly a sample ID linked to its exact model and setup.
A compact board can serve a cabinet showroom; a portable case may suit project visits. Choose the format after deciding what must be demonstrated. Leave room for readable labels, cable routing and access to replace a sample.
The display sample register CSV provides blank fields for each assembly and a separate customer selection record. It is a planning worksheet. A completed display record documents what someone viewed; production approval requires the additional checks described below.
Choose comparisons that answer a buying question
For a distributor serving furniture makers, start with profile fit and visible light appearance. For hotel projects, include the actual decorative finishes and the proposed dimming arrangement. A broad collection of unrelated colors gives the customer fewer useful comparisons than a small set chosen for their application.
| Customer question | Useful comparison |
|---|---|
| Will it fit a narrow recess? | Candidate strips in the intended profile, with joints and wire exits visible. |
| Will I see individual points? | COB and SMD assemblies through the same cover at the intended viewing angle. |
| Which white tone suits this finish? | The selected model in available CCT versions, illuminating the same material. |
| How does it dim? | The proposed strip, driver and controller operating together. |
The current catalog includes the 3mm COB model, 8mm CRI95 COB model and 8mm CRI98 SMD2835 model. These are possible shortlist entries for different fit and color requirements. Their widths and CRI designations are catalog fields, not results from a comparison test.
Select the exact voltage and CCT version before requesting samples. Compare models within the COB and SMD ranges, then ask which configurations are available. A family page showing several voltage options does not mean one physical strip accepts all of them.
Keep the setup comparable
When comparing COB and SMD appearance, use the same illuminated length, profile, diffuser, target CCT, viewing distance and surrounding light where those conditions suit both models. Record any difference that you cannot hold constant. Check the appearance from the customer’s normal standing or seated position, including reflections on glossy surfaces.
If the two strips have different power or output specifications, label that difference. A brighter-looking assembly does not establish better efficiency. An efficiency claim needs comparable measured light output and power under defined conditions.
Keep a diffuser removable so the buyer can see both the source and the finished light line. The diffusion guide explains why profile depth and cover choice affect visible points. For a cabinet project, bring the chosen assembly to a full-size joinery sample before committing to the recess dimensions.
Use compatible power supplies and controllers, follow their mounting and ventilation instructions, and have mains wiring handled by a qualified person. Avoid accessible live connections. Record powered length, feed arrangement and mounting conditions; a short showroom segment cannot establish the behavior of a longer installed run.
For dimming, note the driver and controller model, control method, minimum usable setting and any visible flicker or uneven behavior. Keep an unresolved issue on the selection record. Changing the control equipment later requires another compatibility check.
Photographs help identify the assembly and finish. Automatic exposure and white balance can change how brightness and color appear, so use the physical demonstration for visual selection and appropriate measurements for numerical claims.
Label every physical sample
Put a short, readable label beside each assembly: sample ID, model, exact voltage, CCT and a reference to the full register. Keep voltage visible when the sample is removed from the board. A QR code can link to the model page or revision record, but the basic identification should remain readable without a phone.
In the register, include:
- Supplier model and your own distributor SKU, if different.
- Datasheet revision, nominal power per meter and catalog CRI, with the source reference.
- PCB width, supplied construction, sample length and any available batch reference.
- Profile and diffuser IDs, driver/controller details and feed arrangement.
- Date assembled, owner and the checks still outstanding.
Use the datasheet guide to resolve missing units or version details. Keep a supplier’s rated value separate from a value you measured. Mark unknown fields as pending instead of copying a nearby model’s specification.
When a strip, diffuser or controller changes, update the assembly revision and replace its label. Otherwise a returning customer may see a different configuration under the same sample ID.
Record what the customer actually selected
After a demonstration, write the sample ID and revision on the customer’s selection record. Add the installation location, profile, diffuser, CCT and control equipment they viewed. Record the customer’s visual preference separately from technical questions awaiting confirmation.
For example, a customer might select assembly A-02 for a cabinet shelf while leaving final run length and cable routing unresolved. The quotation should reference A-02’s configuration and list those open items. An entry saying only “warm white COB” leaves too much room for a different product to be quoted.
The CSV has separate sections for the physical sample and the customer decision. Copy them for each assembly or project, keep the IDs consistent, and store any photos or drawings under the evidence references. Avoid putting customer contact details in a publicly accessible register.
Move from the display to an order-specific sample
A demonstration helps a buyer choose appearance and configuration. Before a bulk order, confirm the final model, voltage, CCT, quantity by specification, cut lengths, connections, packaging and required documentation. Use the sample approval workflow to record acceptance limits, test conditions and authorization to begin production.
If the display differs from the intended order, list every difference on the sample request. A short indoor board does not prove suitability for a wet installation, a long feed or the production batch’s color consistency. Those requirements need model-specific evidence and the agreed inspection plan.
To discuss samples with LEDStripStar, send your customer applications, shortlist of exact models, required comparisons and destination through the quotation form. Ask for confirmation of sample availability, charges, assembly scope, shipping and timing before planning a demonstration date. This guide does not announce a stocked sample kit or a fixed sample dispatch service.
Catalog & Sourcing Note
This article is prepared from our current product catalog and B2B specification workflow. Electrical, waterproofing and installation requirements vary by model and market, so confirm the final specification and approved sample before ordering.
Discuss Your Specification